


For small and medium-sized businesses (SMBs) in the manufacturing sector, efficiency is everything. The biggest hurdle often isn’t just making a part, but bridging the gap between a great idea on a screen and a perfectly machined product in your hand. This is where a unified CAD/CAM platform becomes a game-changer, and Autodesk Fusion 360 stands out as one of the most powerful and accessible solutions available today.
Many shop owners see complex software as another potential bottleneck—something reserved for large corporations with dedicated programmers. But what if your design software could speak the same language as your CNC machine?
This guide will demystify the Fusion 360 workflow. We’ll walk you through the essential steps, from creating a digital design to generating the G-code that will run your industrial CNC machine. This is your roadmap to a more streamlined, efficient, and profitable manufacturing process.
Why Fusion 360 is a Smart Choice for Modern Machine Shops
Before we dive in, let’s clarify why Fusion 360 is the go-to choice for so many businesses. Unlike traditional workflows that require separate software for Computer-Aided Design (CAD) and Computer-Aided Manufacturing (CAM), Fusion 360 integrates both into a single, cloud-based platform.
This integration means:
- A Seamless Workflow: Any change you make to your design model automatically updates your machining toolpaths, saving countless hours and reducing the risk of errors.
- Cost-Effectiveness: It provides powerful features, including 3-axis and even complex 5-axis machining capabilities, at a price point that is accessible for SMBs.
- Rich Feature Set: From design and simulation to manufacturing, it’s a comprehensive toolkit. You can model your part, test its strength, and then program the toolpaths all in one environment.
Step 1: The Design Phase (CAD) – Create Your Model
Everything starts with a digital blueprint. The Design workspace in Fusion 360 is where you’ll create or import the 3D model of the part you want to machine.
- Sketch Your Foundation: Begin by creating a 2D sketch of your part’s base shape using tools like lines, circles, and rectangles.
- Extrude to 3D: Once your sketch is complete, use the Extrude command to pull the 2D shape into a 3D body.
- Refine Your Model: Add details like holes, fillets (rounded edges), and chamfers. A well-defined and accurate model is critical for successful machining.
For this guide, we’ll assume you have a finished 3D model ready.
Step 2: Entering the Manufacture Workspace (CAM)
With your design complete, it’s time to tell the machine how to make it. This is the “CAM” part of the process.
Click on the “Design” dropdown menu in the top-left corner and select “Manufacture.” You’ll notice the tools in your toolbar change, replaced by functions for creating machining operations. This is where the magic happens.
Step 3: Creating Your Setup – Defining Stock and Origin
The first thing you must do in the Manufacture workspace is create a Setup. This tells Fusion 360 two critical things: the size of the raw material you’re starting with (your “stock”) and where your “zero point” is.
- Create a New Setup: Go to the toolbar and click Setup > New Setup. A new dialog box will appear.
- Define Your Machine: In the Setup tab, you can select a machine from Fusion 360’s library. This helps with more accurate simulation.
- Set the Work Coordinate System (WCS): The WCS defines your XYZ zero point (also known as the work home or program zero). This is arguably the most important step. You need to ensure the origin point you set in the software matches the origin point you will set on your physical CNC machine. A common practice is to select a top corner of the stock block.
- Define Your Stock: Switch to the Stock tab in the dialog box. Here, you define the dimensions of the raw material block you’ll be machining from. It’s good practice to add a little extra material (e.g., 1-2mm) to the stock size to allow for facing operations and to ensure the final part is fully cleaned up.
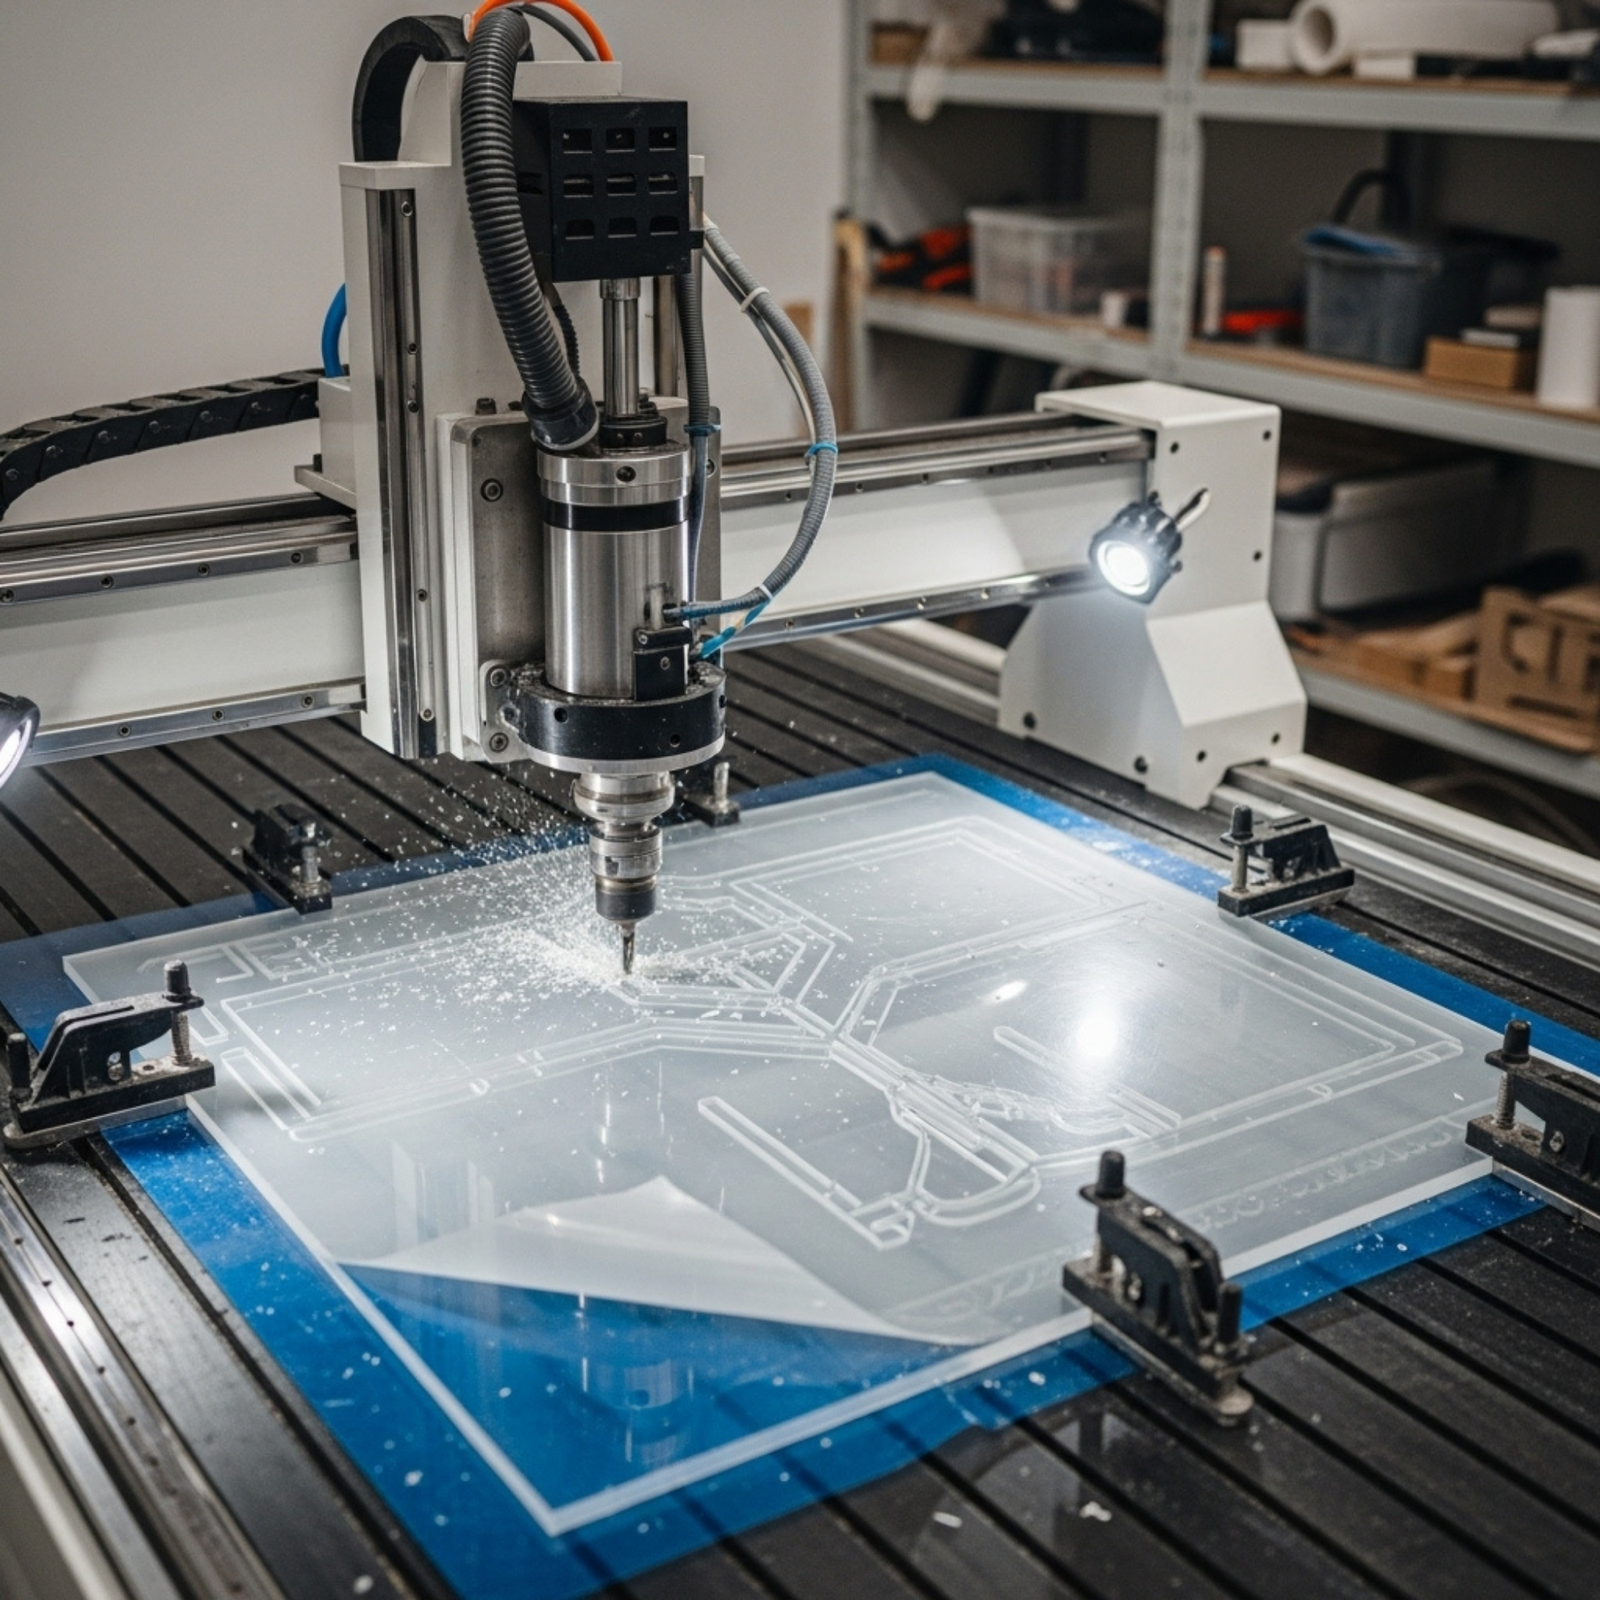
Step 4: Generating Toolpaths – The Language of Machining
A toolpath is the path the cutting tool will follow to remove material. Fusion 360 has a vast library of toolpaths, but for most basic parts, you’ll rely on a few key types. Toolpaths are broadly categorized as 2D, 3D, and Multi-Axis.
Here’s a simple 3-step process using common toolpaths:
- Facing (2D): A facing operation is typically the first step. It skims the top of the stock to create a perfectly flat, clean surface. Go to 2D > Face. You’ll need to select a tool (like a face mill) from the tool library and set your speeds and feeds.
- Adaptive Clearing (3D): This is a powerful “roughing” strategy designed to remove the bulk of the material as quickly and efficiently as possible. It creates toolpaths that avoid sharp corners and maintain a constant load on the tool, which extends tool life and allows for faster cutting. Go to 3D > Adaptive Clearing.
- Contour (2D) or Scallop (3D): After roughing, you need a “finishing” pass to clean up the part and bring it to its final dimensions. For vertical walls, a 2D Contour is perfect. For more complex, curved surfaces, a 3D Scallop or Parallel pass will provide a smooth finish.
For each toolpath, you must select a tool, define speeds and feeds, and set parameters like stepover (how much the tool moves over on each pass) and stepdown (how deep it cuts).
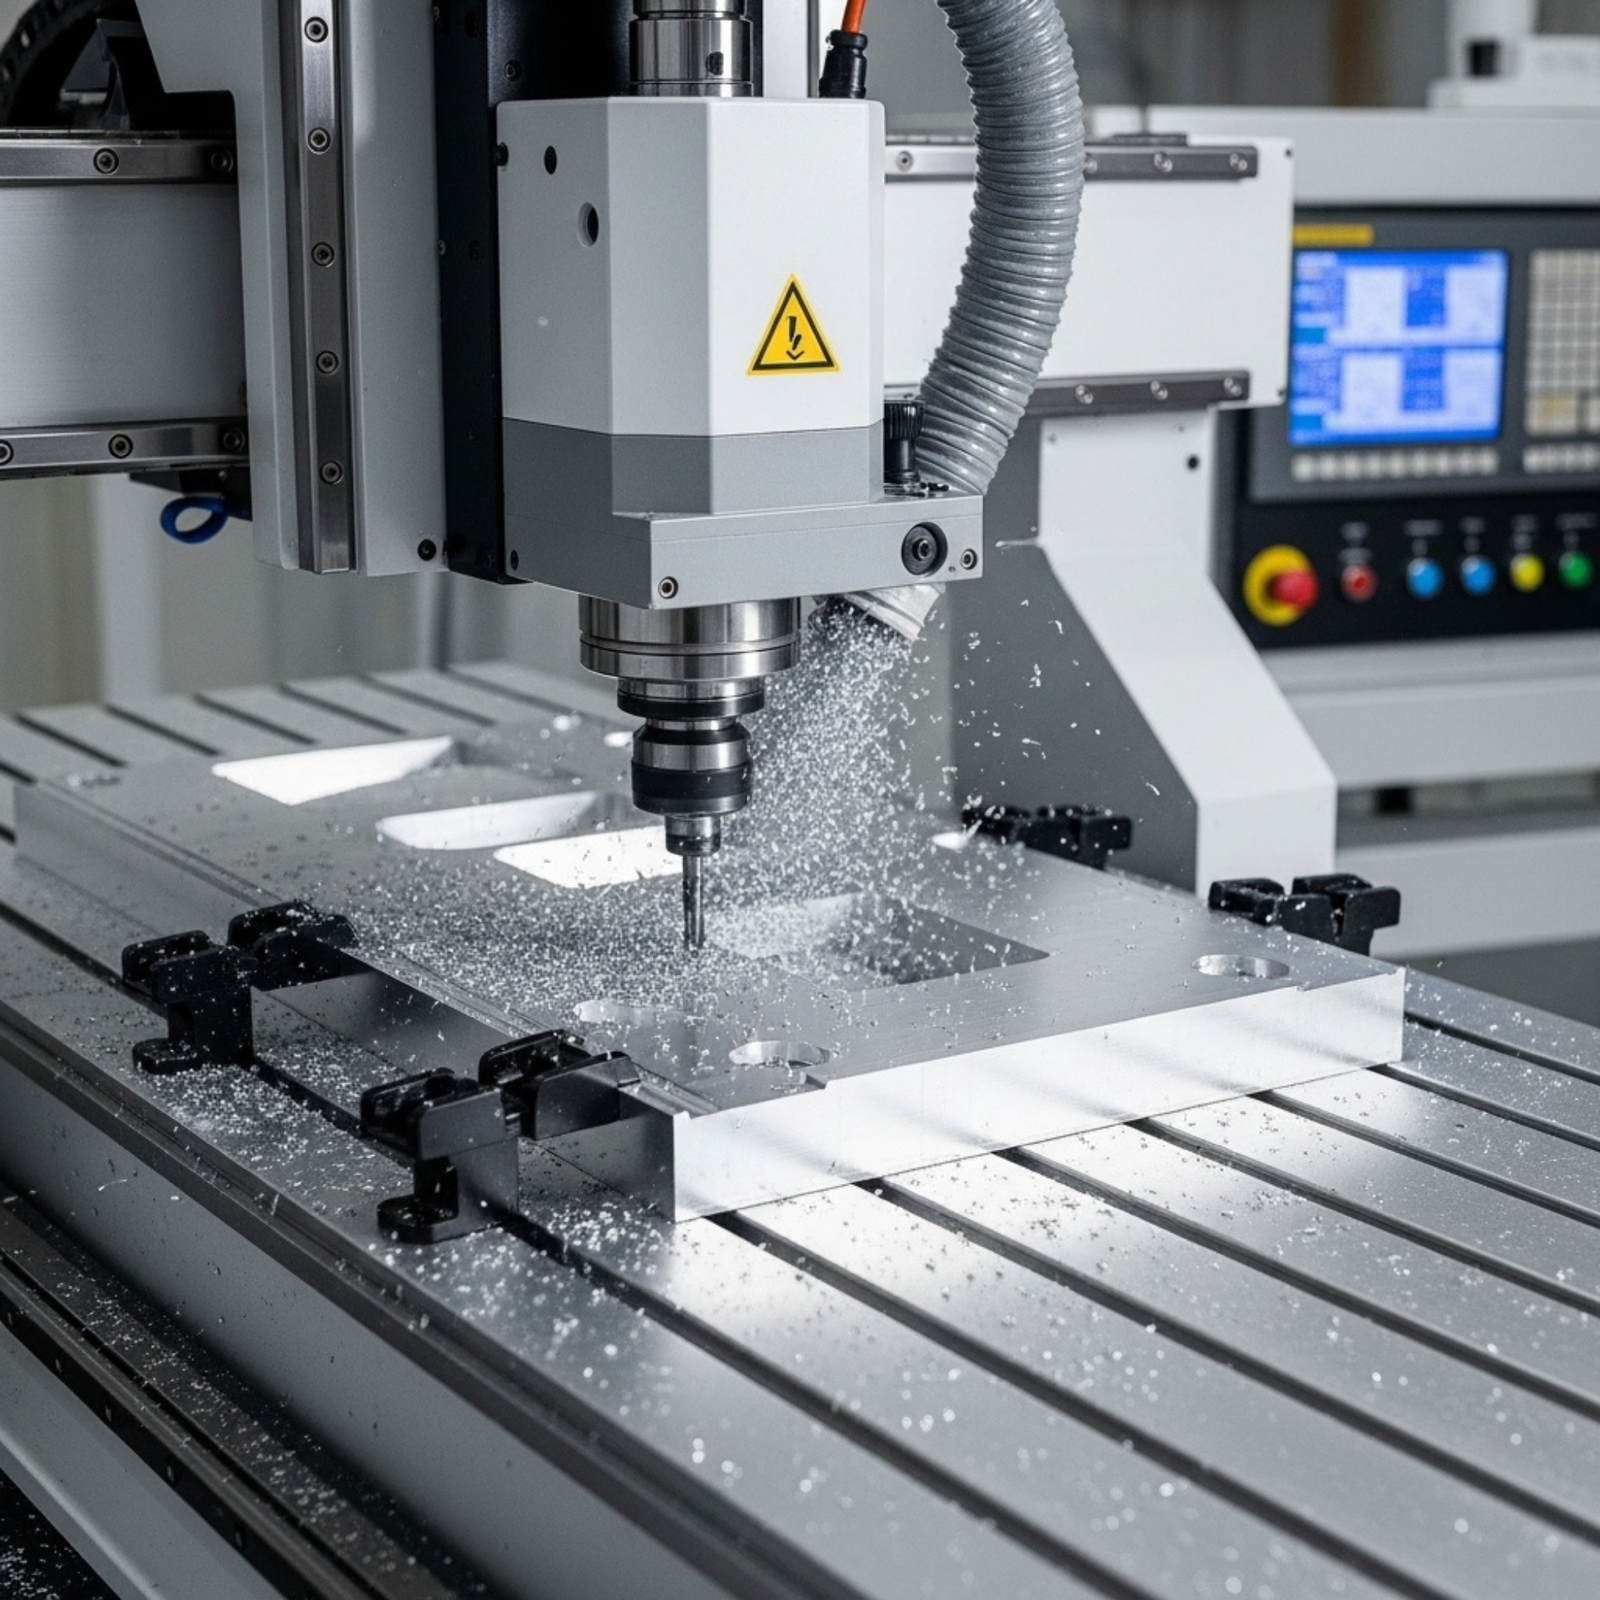
Step 5: Simulate, Simulate, Simulate! – The Critical Safety Check
Never send code to your machine without first running a simulation. This is a non-negotiable rule.
Simulation provides a visual representation of how your toolpaths will run. It allows you to:
- Detect Collisions: See if the tool or tool holder will crash into your part, your stock, or your workholding clamps.
- Verify Material Removal: Ensure that your operations are cutting what you expect them to cut.
- Estimate Machining Time: Get a good idea of how long the job will take.
To run a simulation, select your Setup in the browser tree (which includes all your toolpaths), right-click, and choose Simulate. Watch it carefully from multiple angles. If you see any red marks indicating a collision, you must go back and fix your toolpath.
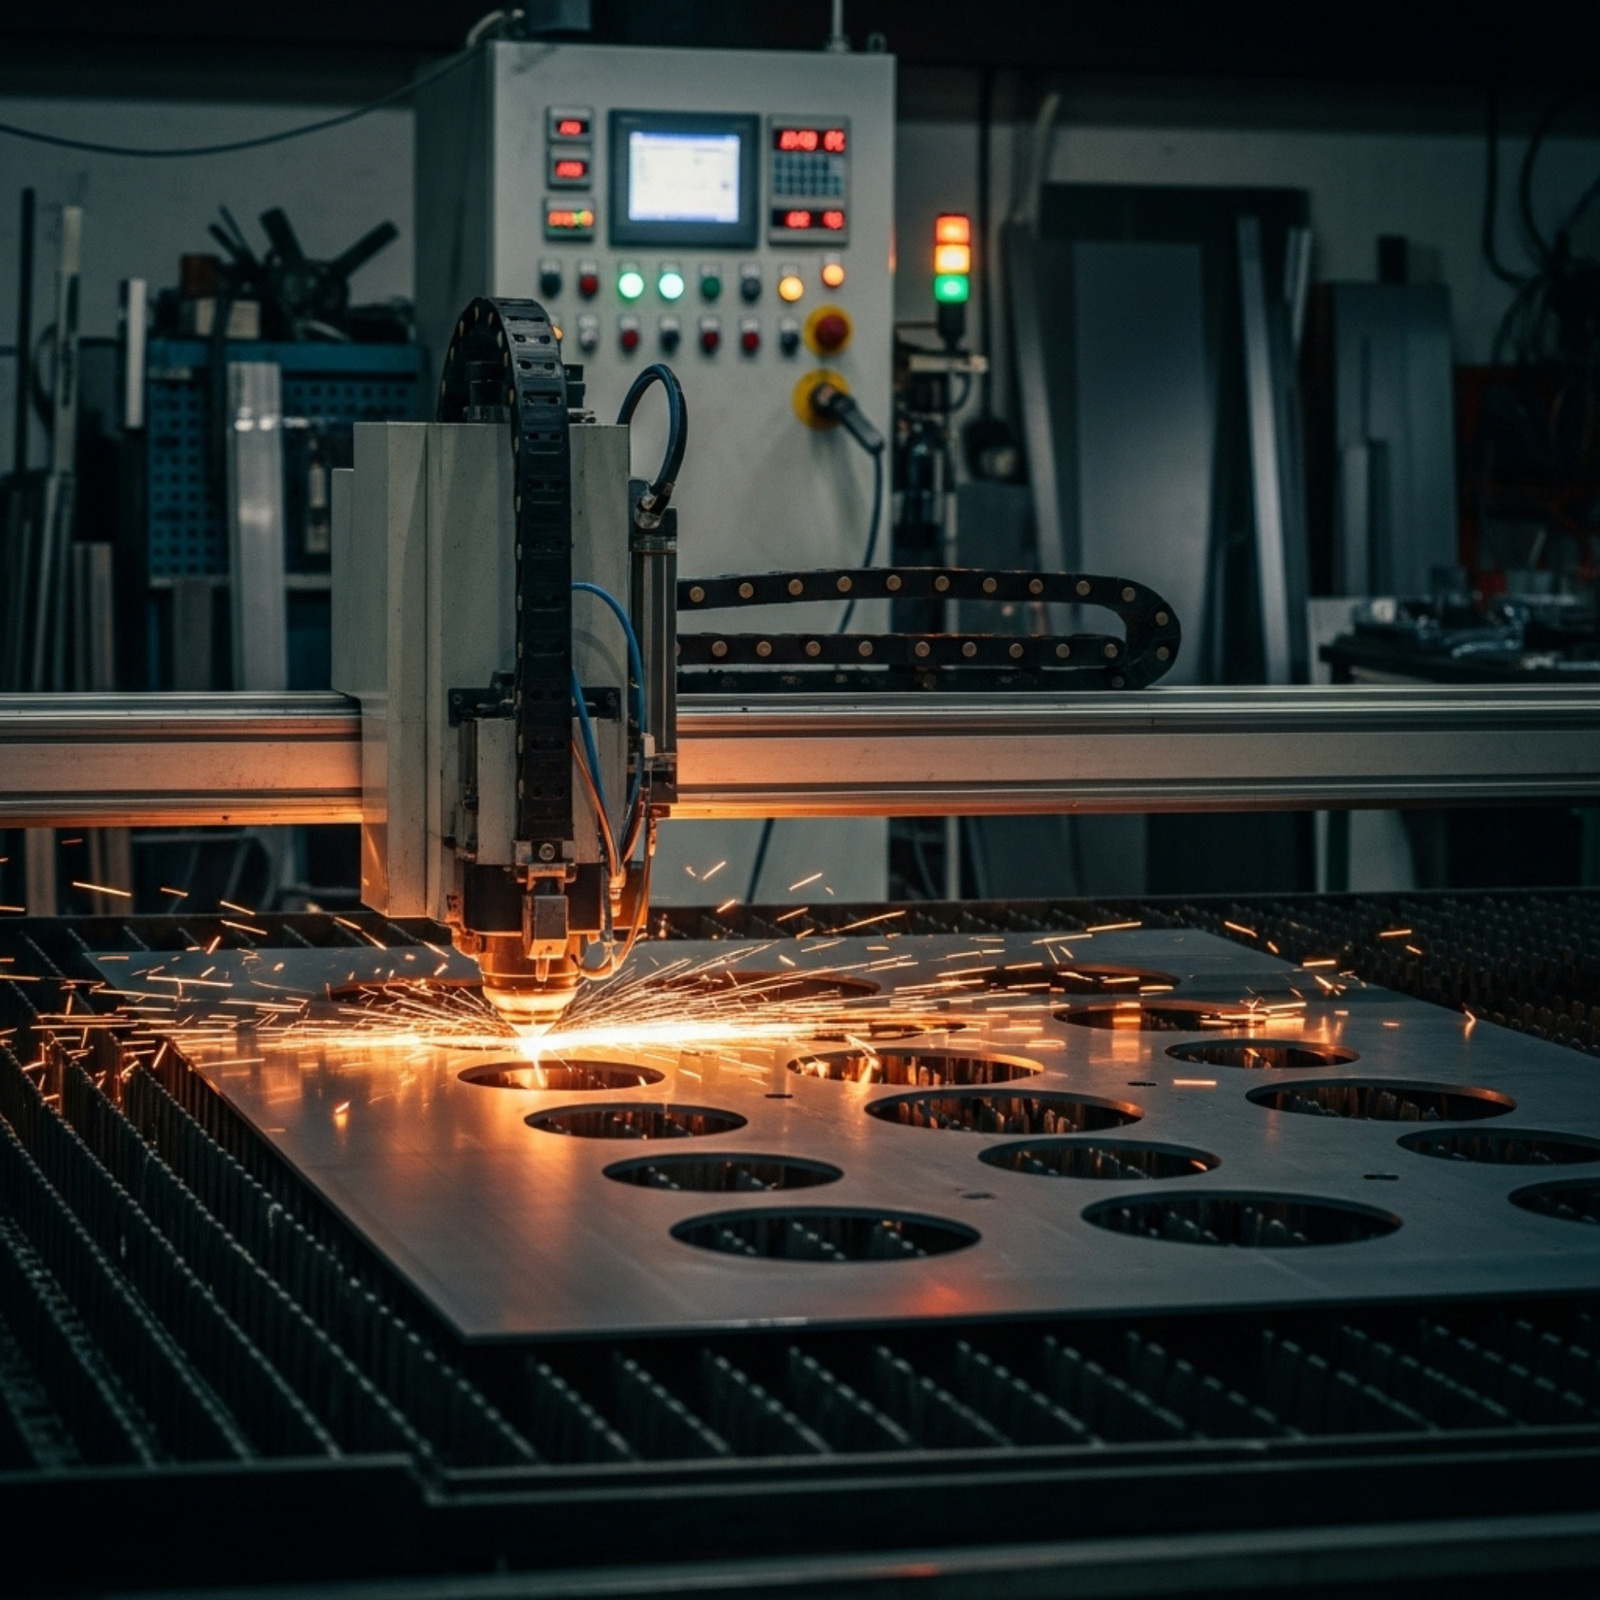
Step 6: Post-Processing – Generating Your G-Code
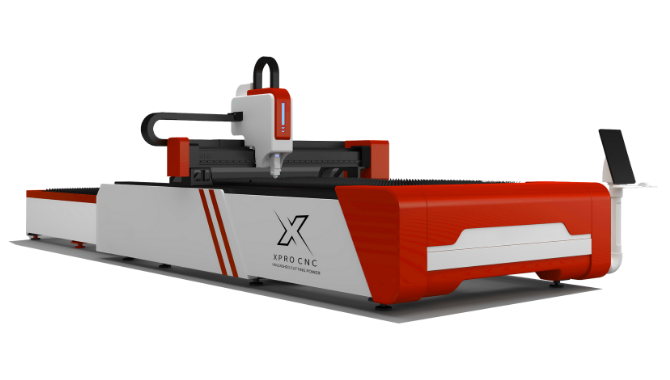
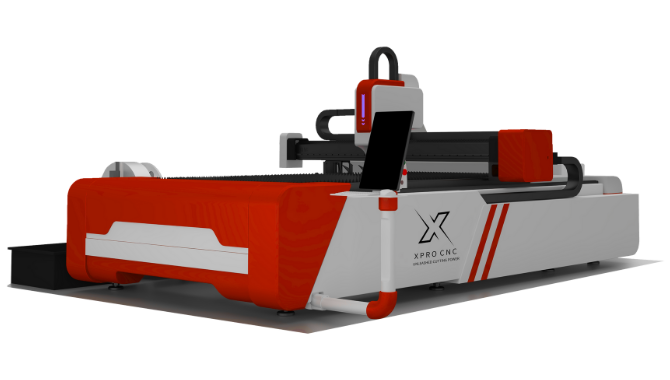
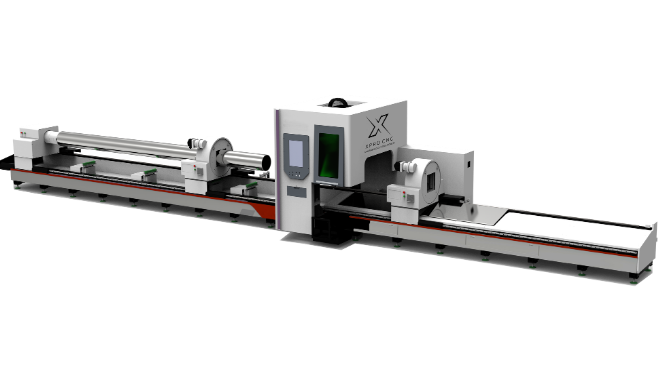
Once you are 100% confident in your simulation, it’s time to generate the G-code. This is the final step that translates your visual toolpaths into a text-based language that your 5-axis CNC machine or CNC router can understand.
- Select “Post Process”: Right-click your Setup and select Post Process.
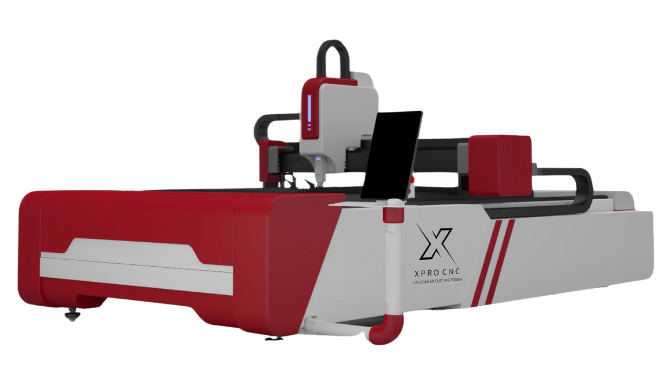
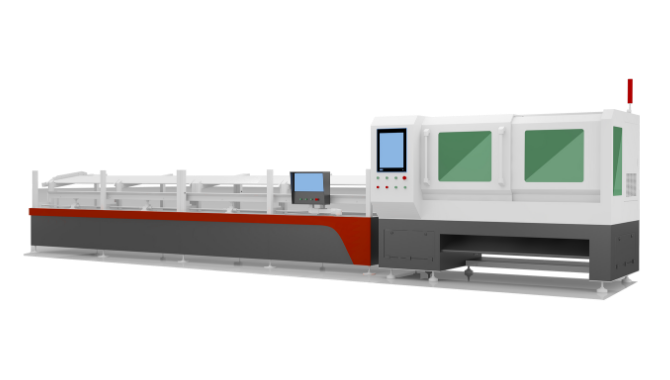
- Choose Your Post Processor: This is the most important part of this step. A post processor is a translator specifically configured for your machine’s controller (e.g., Fanuc, Haas, or in some cases, a specific brand’s controller). Using the wrong post processor can result in errors or damage to your machine. XproCNC can help you select the right one for your equipment.
- Export the Code: Choose an output folder, name your program, and click Post. Fusion 360 will generate a
.ncor.tapfile. This is the G-code file you will load onto your CNC machine.
You have now successfully navigated the entire CAD/CAM workflow, turning a 3D model into a set of instructions ready to create a physical part.
Moving Forward: Your Partner in Manufacturing
Mastering the Fusion 360 workflow is a significant step toward optimizing your shop’s production capabilities. It transforms your CNC machine from a simple tool into an integrated part of your design and manufacturing ecosystem.
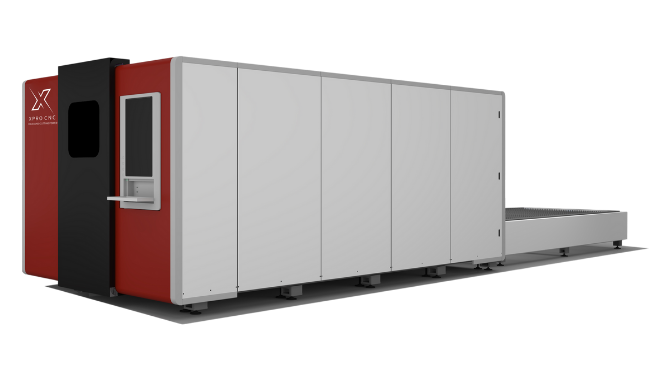
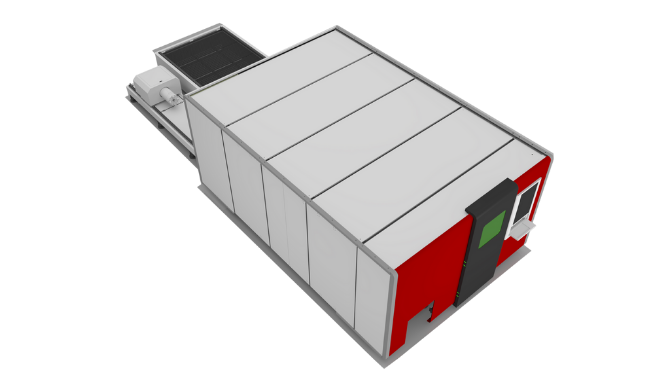
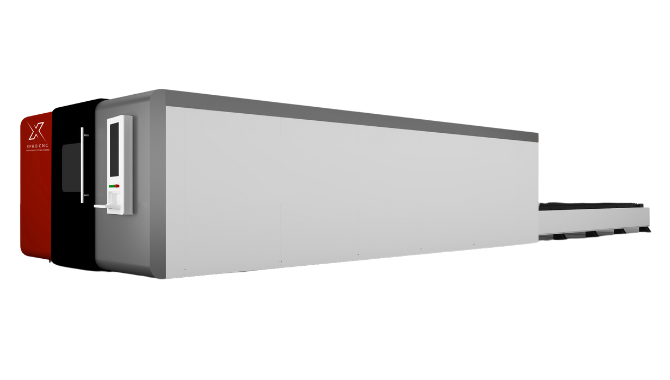
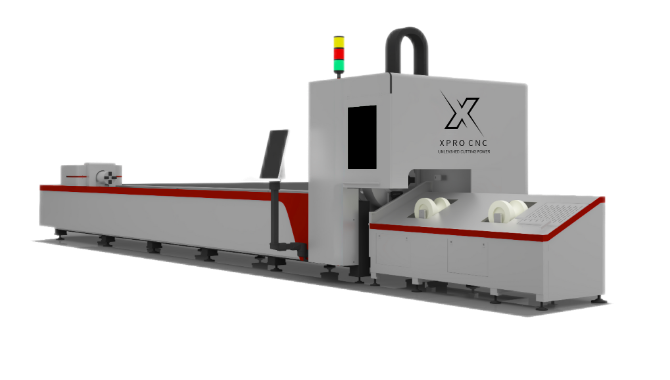
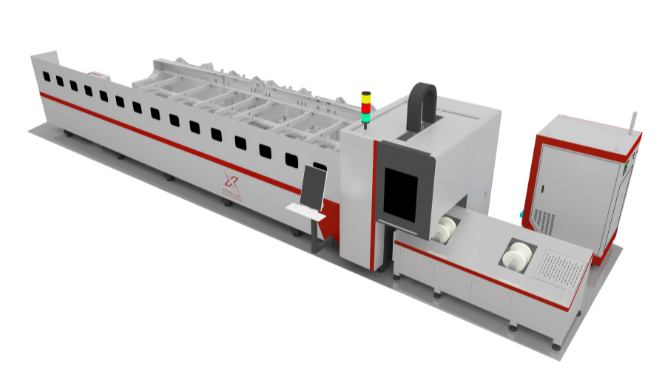
At XproCNC, we specialize in providing SMBs with the robust, industrial-quality CNC machines needed to turn these digital designs into reality. We understand that success isn’t just about having a great machine; it’s about having a seamless process. If you’re looking to invest in equipment that can keep up with your ambitions, explore our range of CNC solutions or reach out to our team of experts.
Disclaimer: The information provided in this article is for informational purposes only. Operating CNC machinery carries inherent risks. All procedures, including software use, tool selection, and machine operation, should be performed or supervised by a qualified professional. Always follow the safety guidelines provided by your machine and tool manufacturers. XproCNC is not liable for any damage or injury resulting from the use or misuse of this information.


