


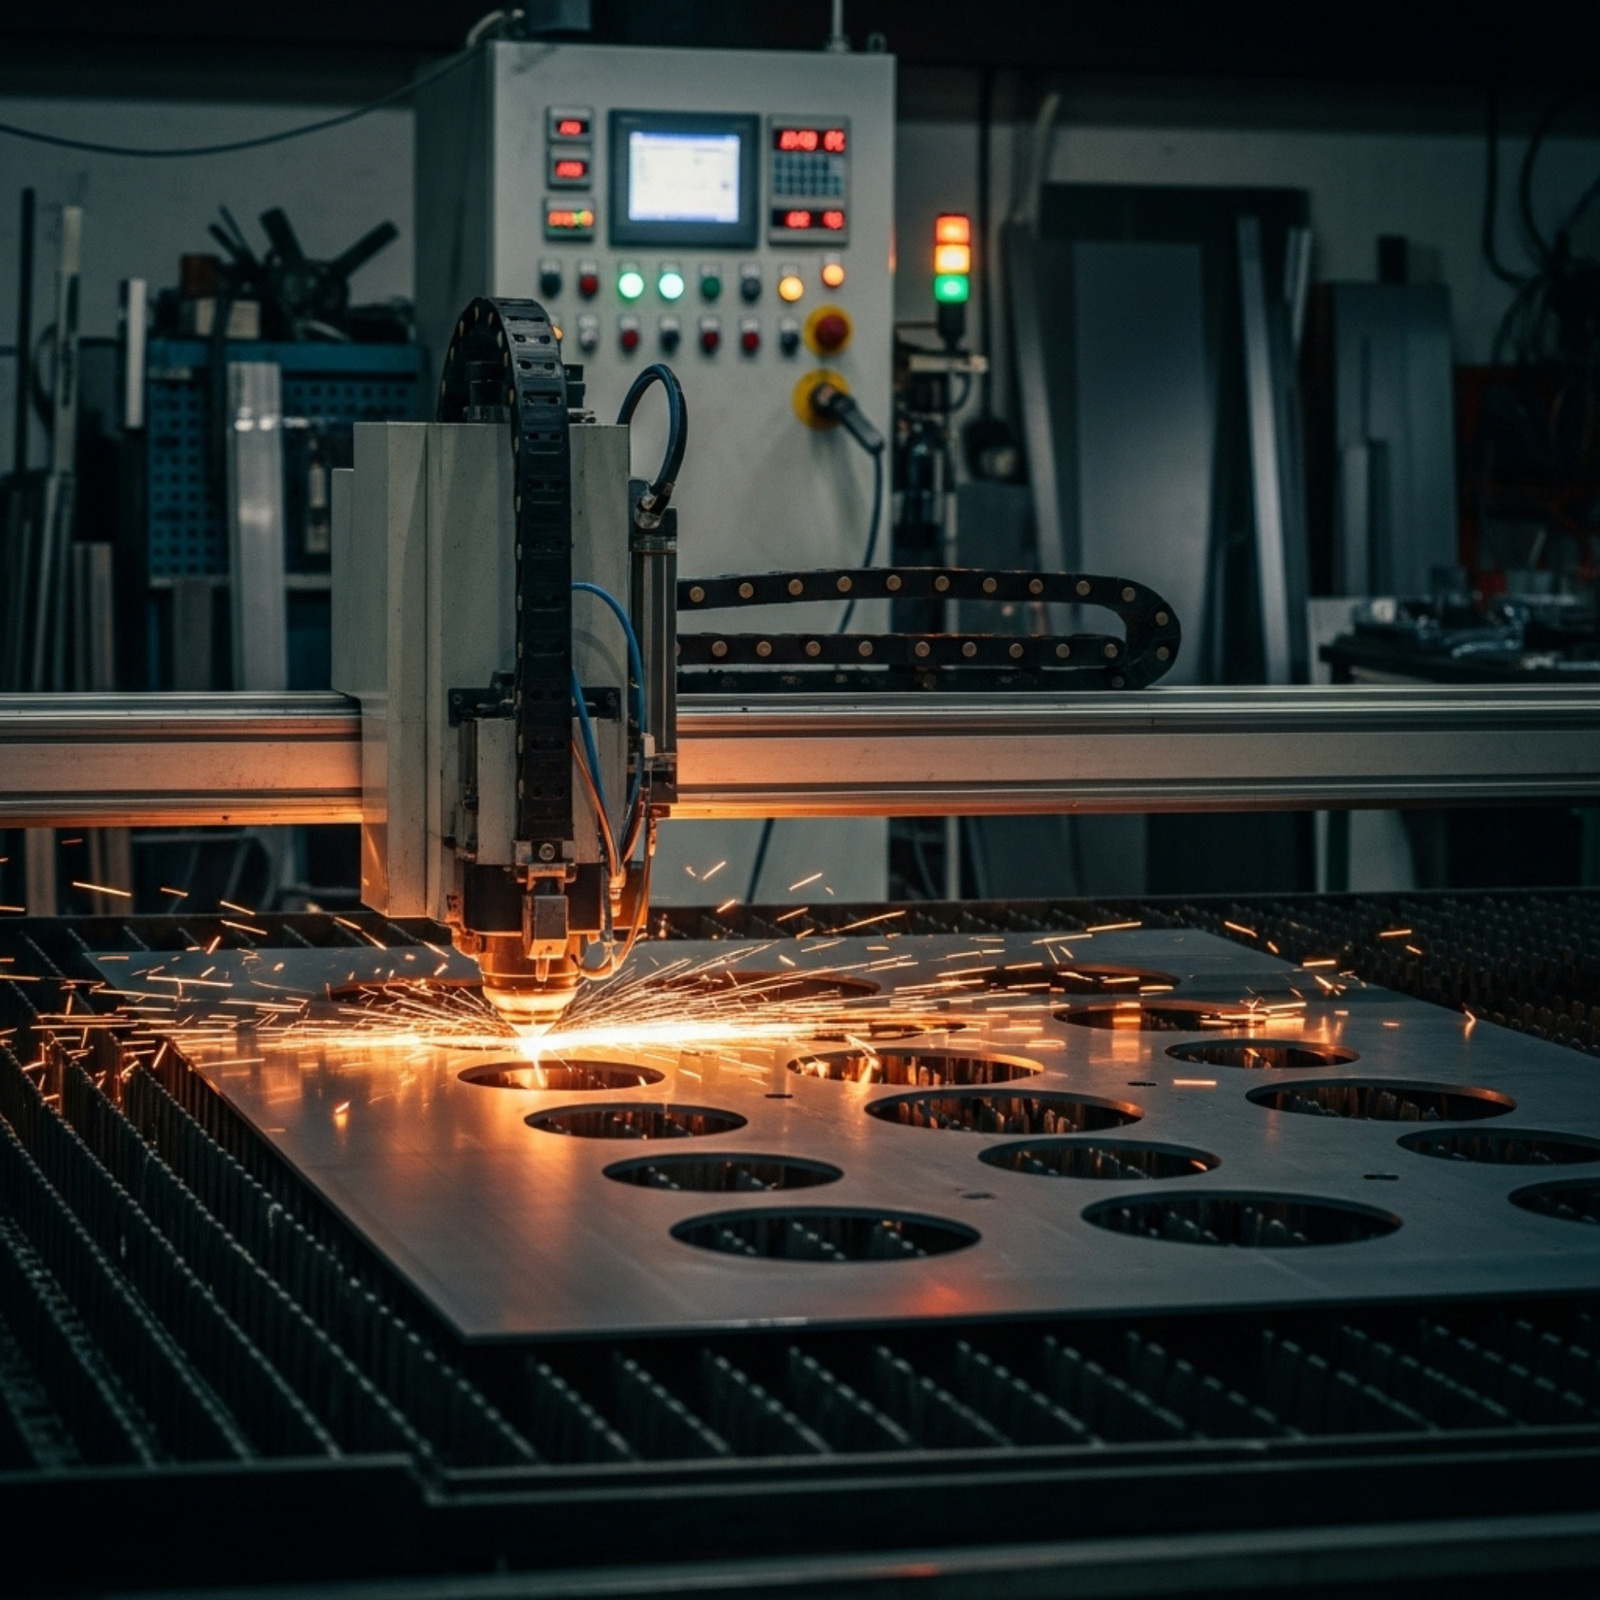
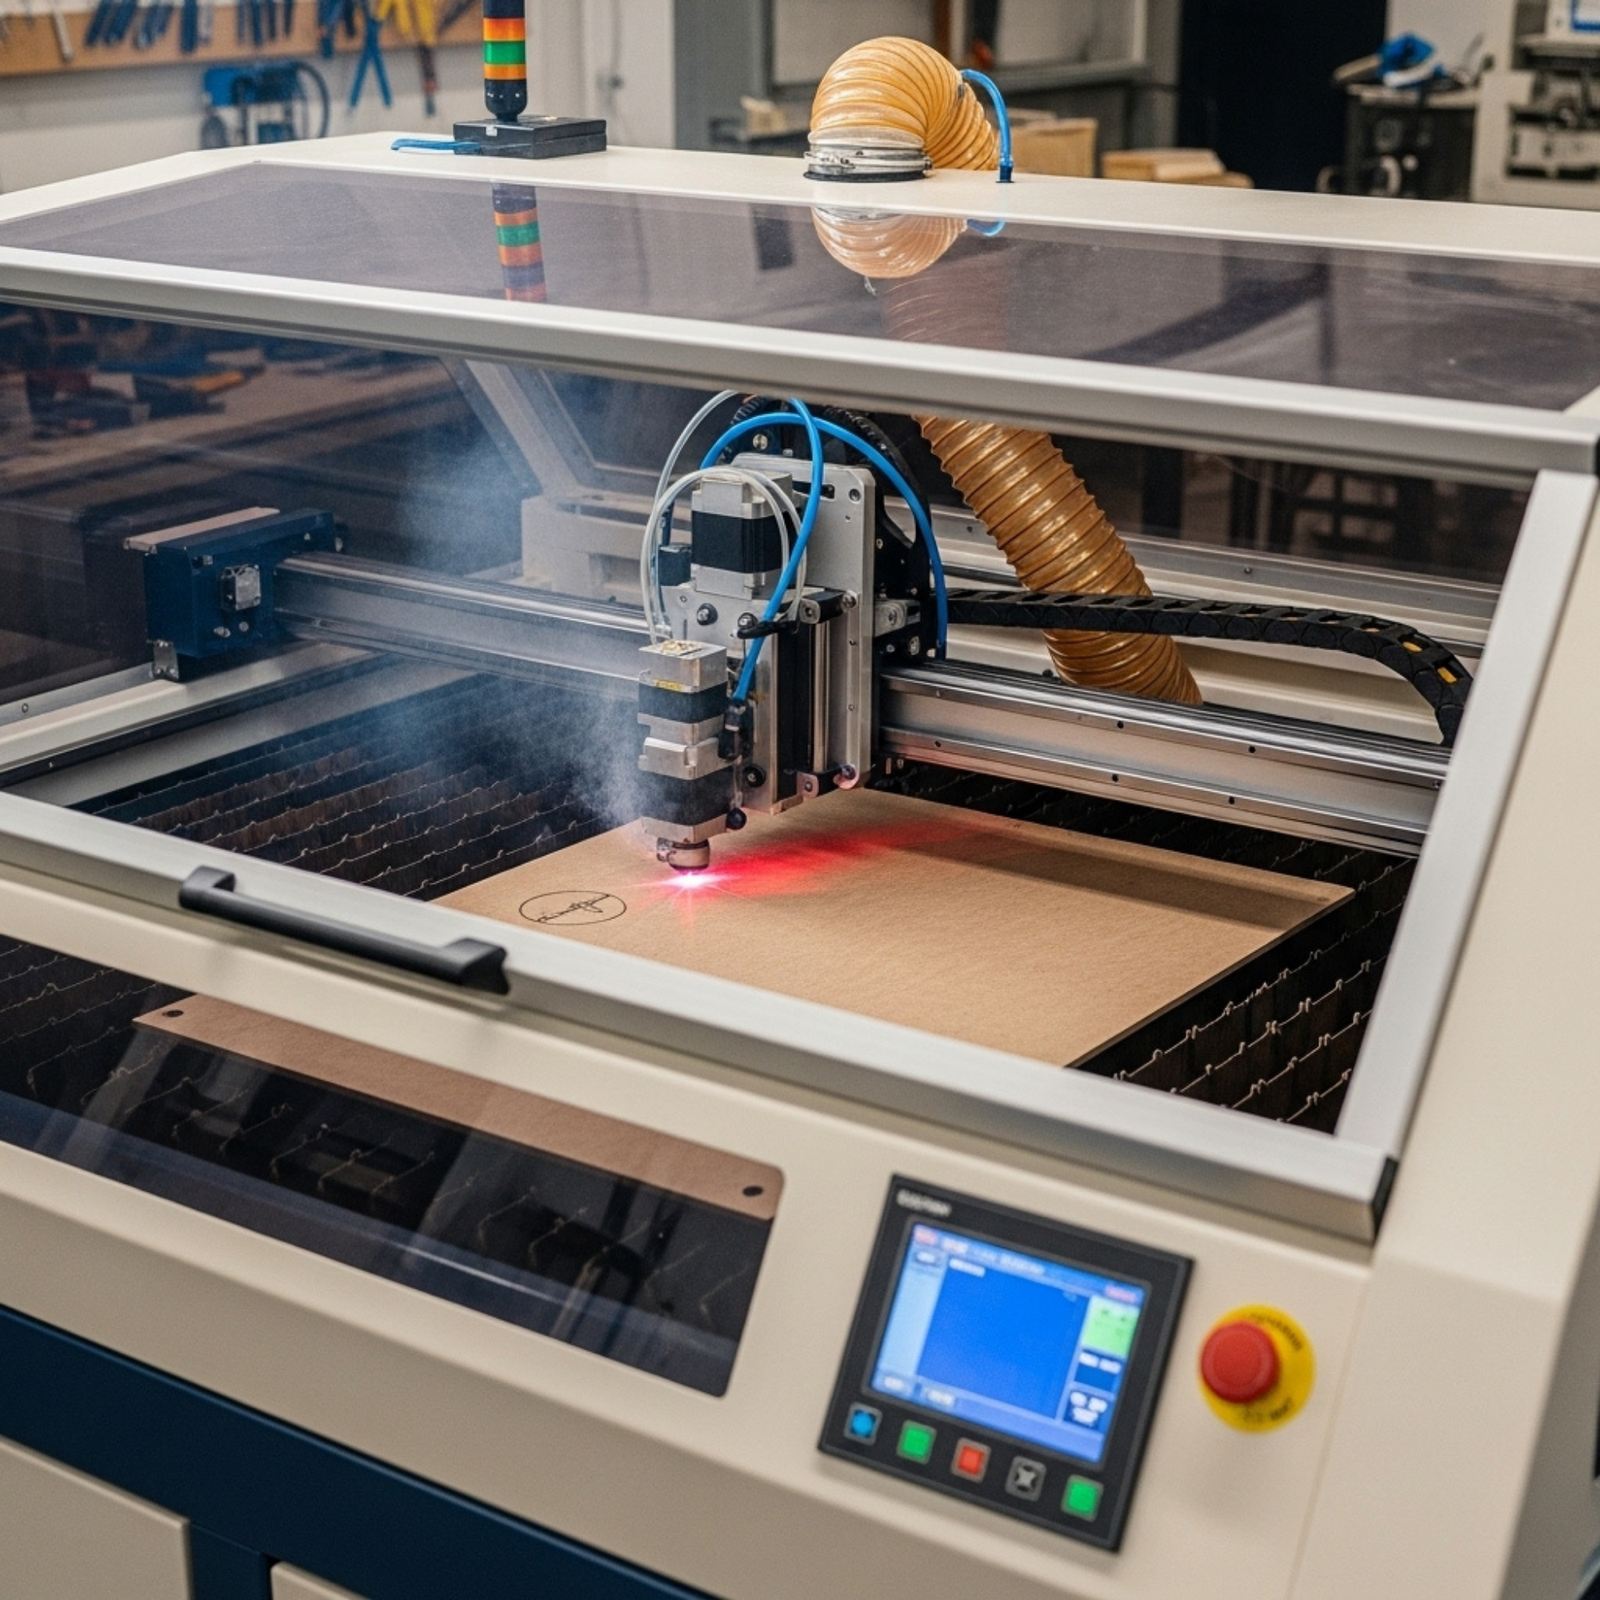

If you’re a CNC operator, you know the sound. It’s that high-pitched scream, that deep shuddering groan—the unmistakable, part-ruining sound of chatter. It’s more than just an annoying noise; it’s a clear signal that something is wrong in your machining process. Unchecked chatter leads to poor surface finishes, drastically reduced tool life, and even potential damage to your CNC machine’s spindle and bearings.
But chatter isn’t random. It’s a predictable (and preventable) problem. The key is to stop guessing and start thinking like a detective. This guide will give you a systematic framework for
preventing chatter in CNC milling by diagnosing its root causes and implementing practical, effective solutions.
What Exactly is CNC Milling Chatter?
In simple terms, chatter is a form of self-excited vibration that occurs between the cutting tool and the workpiece. Think of a shopping cart with a wobbly wheel—once it starts shaking, the motion feeds on itself and gets worse.
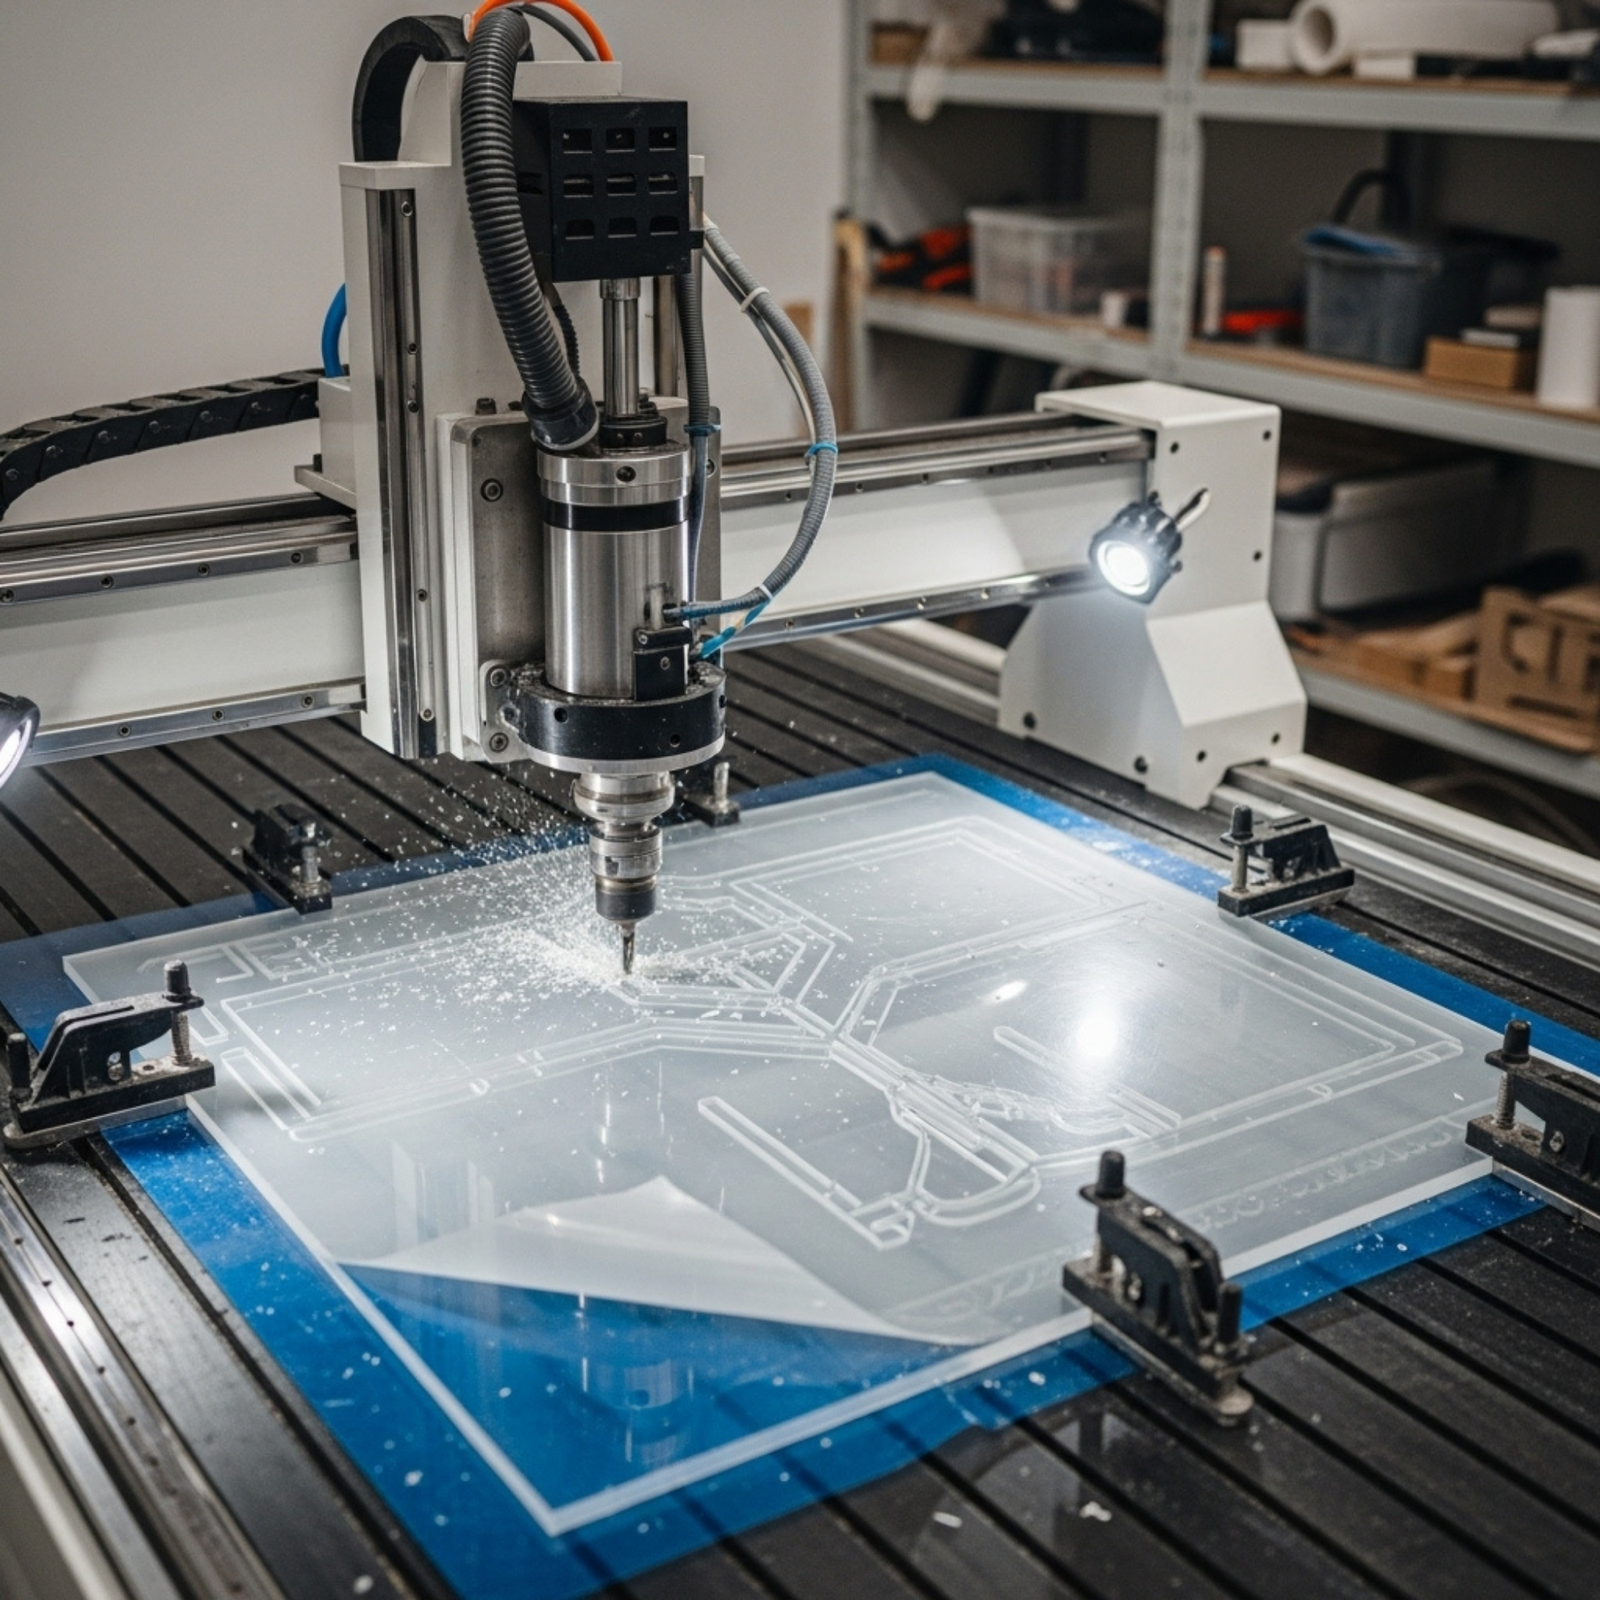
In milling, the cutting edge of the tool takes a “bite” out of the material. If the setup isn’t perfectly rigid, the tool deflects slightly. As it springs back, it takes a slightly different-sized bite on its next rotation. This variation creates an unstable, repeating cycle of deflection that we hear and see as chatter. This vibration compromises part quality and puts immense stress on your entire setup.
The Root Causes: A System-Wide Problem
The first step to fixing chatter is understanding that it’s rarely caused by a single factor. It’s a system problem. The solution lies in investigating four key areas:
- Tooling and Tool Holders
- Speeds and Feeds
- Workholding and Setup
- Cutting Strategy
Strategy 1: Optimize Your Tooling and Tool Holders
Your cutting tool and how you hold it are the first places to look for instability.
- Use the Shortest Tool Possible: This is the golden rule. The longer a tool sticks out from the holder, the more it will want to deflect and vibrate. Use the shortest end mill and tool holder combination that can do the job.
- Choose the Right Flutes: A tool with too many flutes can lead to chip packing in deep pockets, causing vibration. A tool with too few flutes might not be able to achieve the desired feed rate. For general-purpose milling in steel or aluminum, 3 or 4-flute end mills are often a stable starting point.
- Prioritize High-Quality Tool Holders: Your tool holder is the critical link between the spindle and the tool. Low-quality or worn holders won’t grip the tool concentrically, leading to runout and vibration. High-quality holders like shrink-fit, hydraulic, or high-performance milling chucks provide superior rigidity and are a worthwhile investment.
- Use Sharp, Correctly Coated Tools: A dull tool doesn’t cut; it pushes. This creates excessive cutting forces that invite chatter. Ensure you’re using a sharp tool with a coating appropriate for the material you are machining.
Strategy 2: Master Your Speeds and Feeds
Your cutting parameters can either create chatter or eliminate it. The goal is to “tune” your process into a stable pocket.
- Adjust Your Spindle Speed (RPM): Sometimes, a slight increase or decrease in RPM can move you out of a chatter-prone resonant frequency. If you hit chatter, try reducing your RPM by 10% and see if it disappears. If not, try increasing it by 10% from the original value. This trial-and-error method can often find a stable cutting window.
- Maintain Correct Chip Load: Chip load—the thickness of the chip each flute cuts—is critical. Too light a chip load causes the tool to rub instead of cut, inducing vibration. Too heavy a chip load can cause excessive force and deflection. Always consult your tooling manufacturer’s recommendations and use a reliable spindle speed and feed rate calculator.
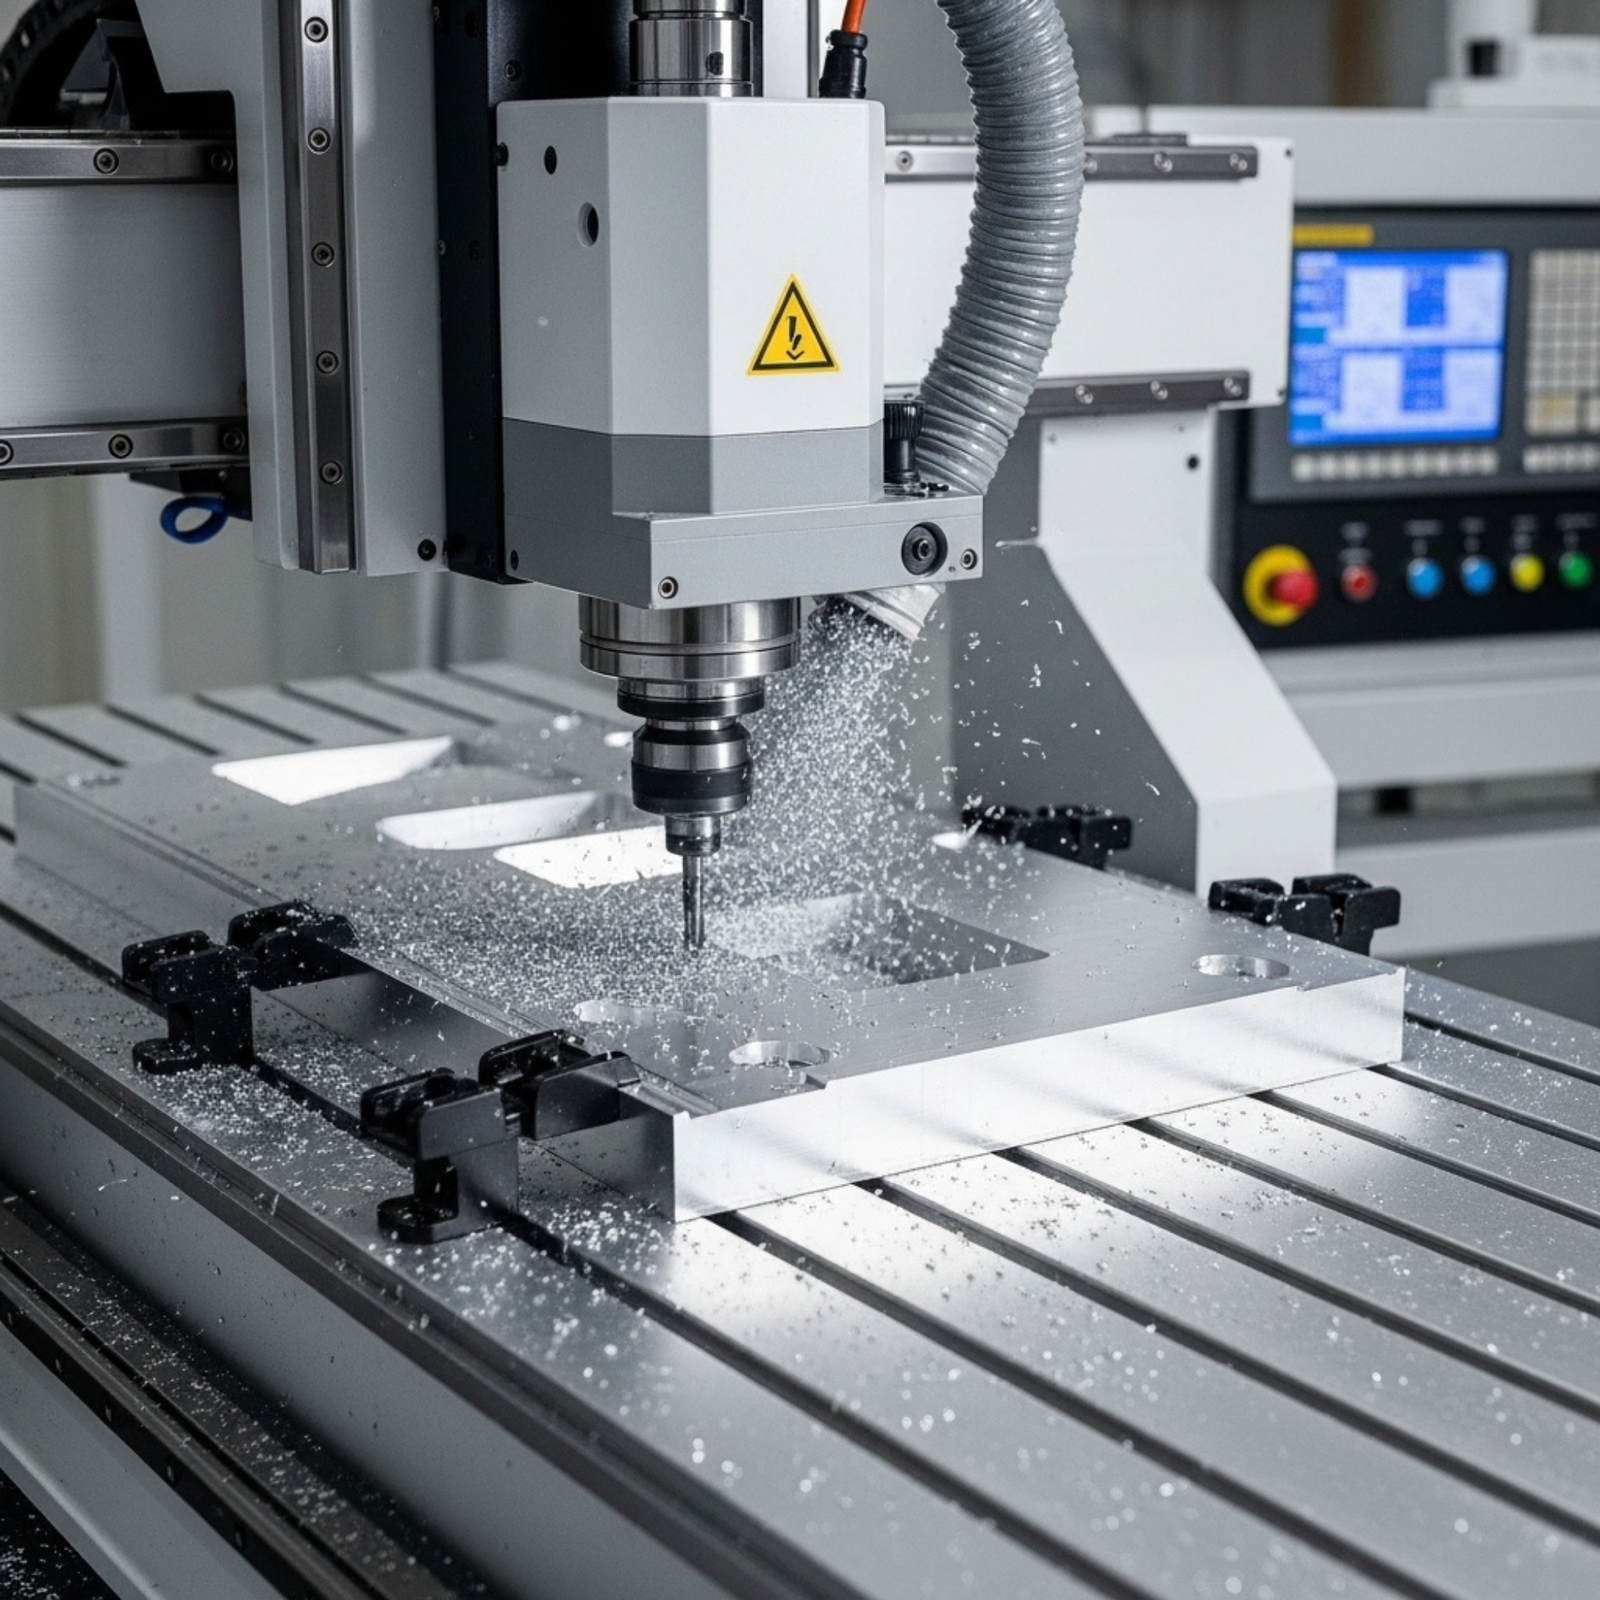
Strategy 3: Solidify Your CNC Workholding
Even the best tool and parameters will fail if your workpiece isn’t held securely. Your workholding must be absolutely immovable.
- Keep it Close and Low: Position the workpiece as close to the machine table and vise body as possible. The further your part is from a solid foundation, the more likely it is to vibrate.
- Check Your Foundation: Ensure your vise, fixtures, and the machine table are perfectly clean and free of chips before clamping. Even a tiny chip can create a pivot point for vibration.
- Use the Right Workholding: For parts with thin walls or floors prone to vibration, consider using additional supports, specialized fixtures, or even CNC workholding wax to dampen vibrations.
Strategy 4: Adjust Your Cutting Strategy and Toolpaths
How you engage the tool with the material plays a massive role in exciting chatter.
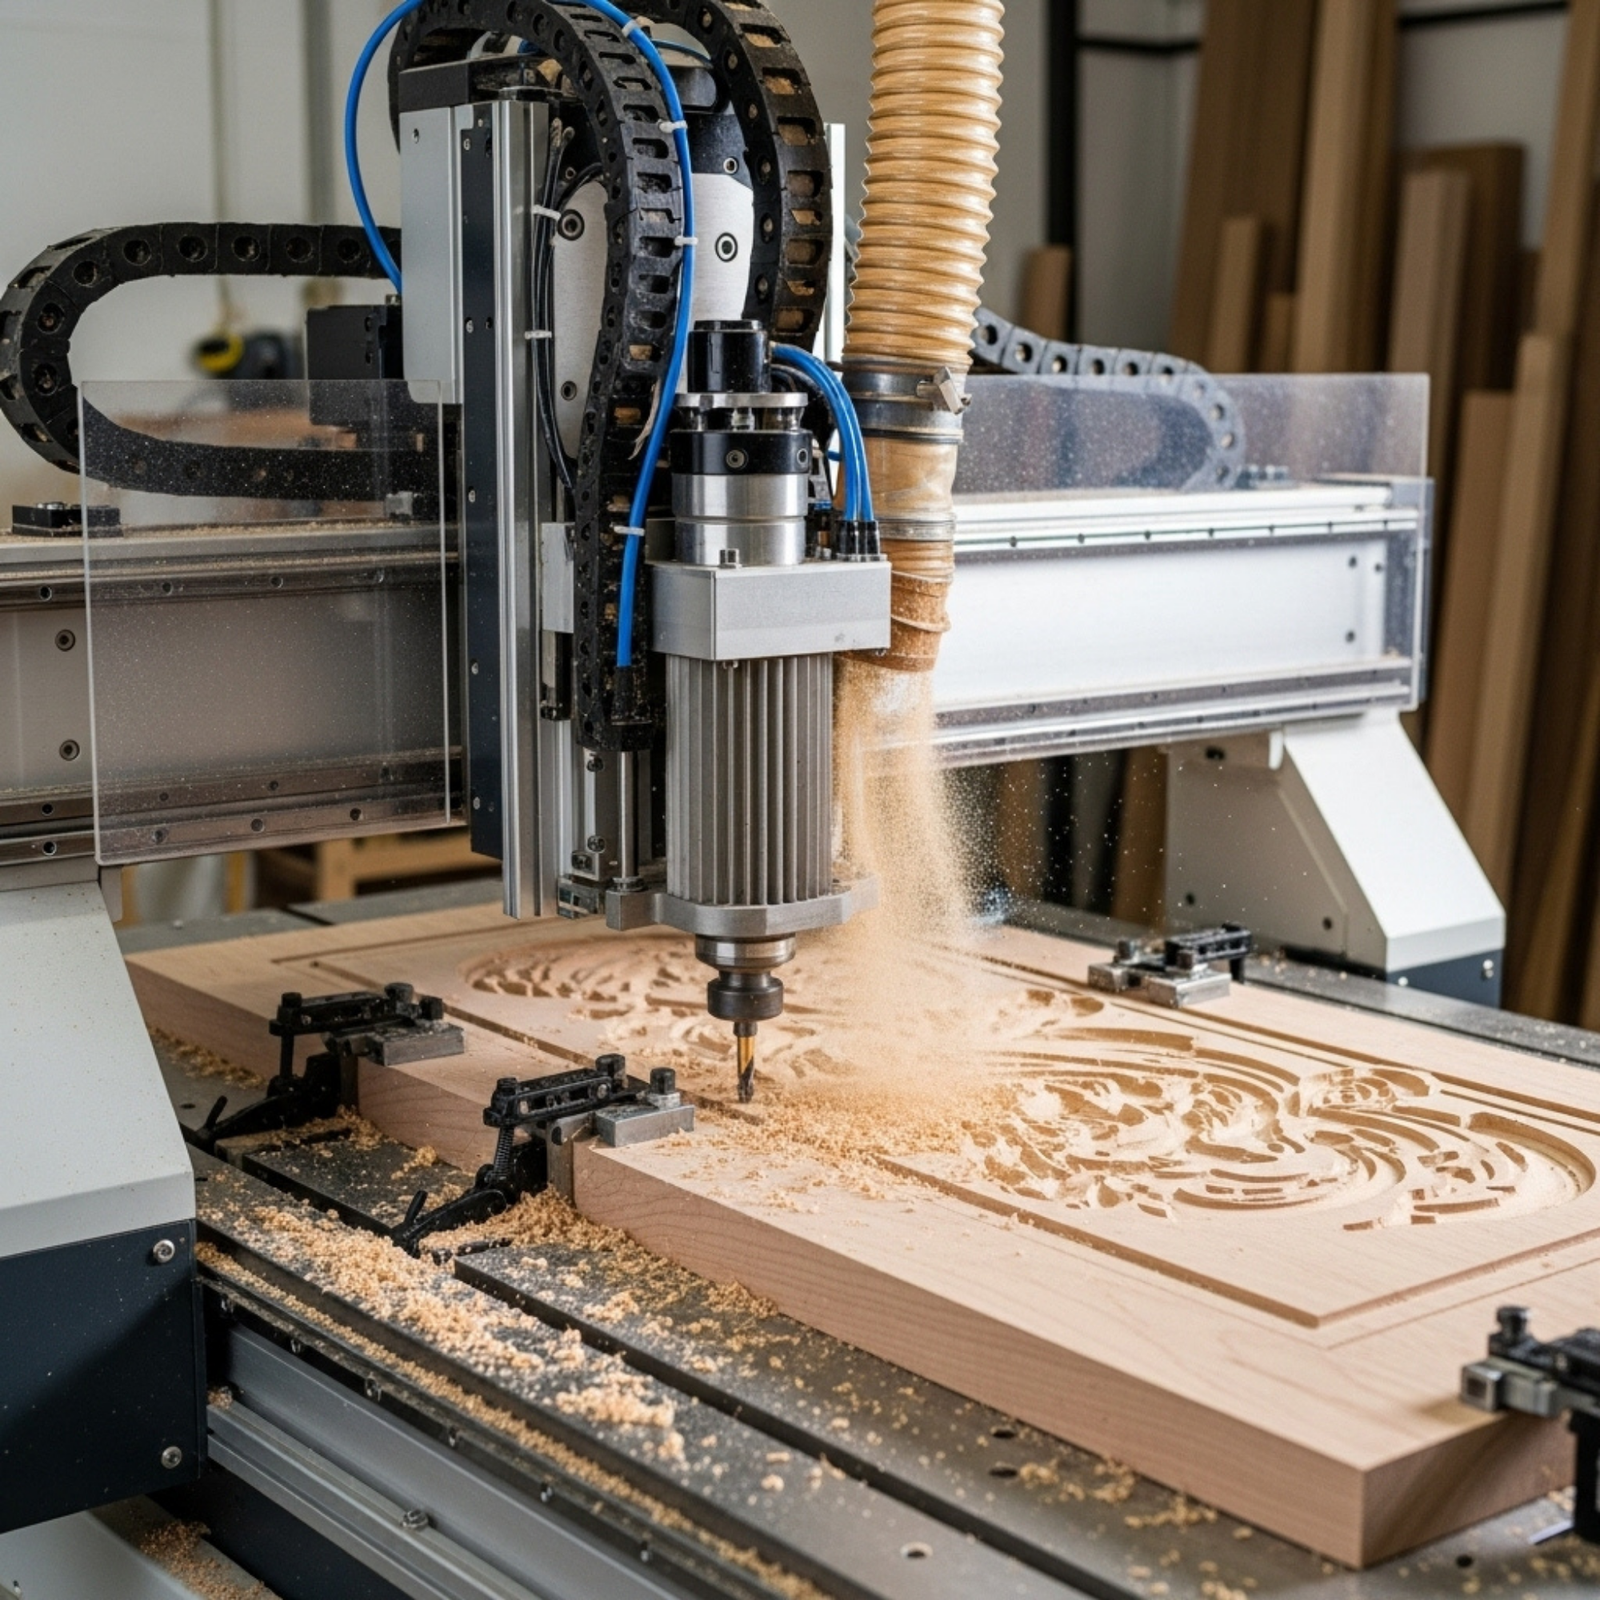
- Use Climb Milling: In most situations, climb milling is preferred over conventional milling. In climb milling, the tool cuts “down” into the material, creating a thick-to-thin chip that tends to pull the workpiece into the fixture and reduce vibration. In conventional milling, the tool scoops “up,” creating a thin-to-thick chip that can cause the tool to deflect away from the part before it “bites,” leading to chatter.
- Optimize Your Depth of Cut: The “radial” depth of cut (side-to-side engagement) and “axial” depth of cut (downward engagement) are key levers. A common rule of thumb is to use a large axial depth of cut with a small radial depth of cut. Modern high-efficiency milling (HEM) toolpaths are based on this principle and are excellent for avoiding chatter while achieving high metal removal rates.
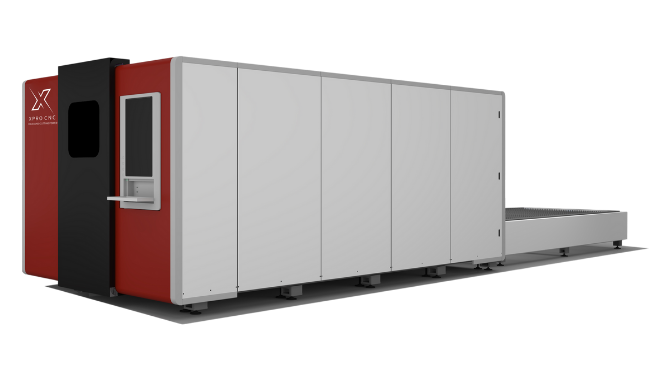
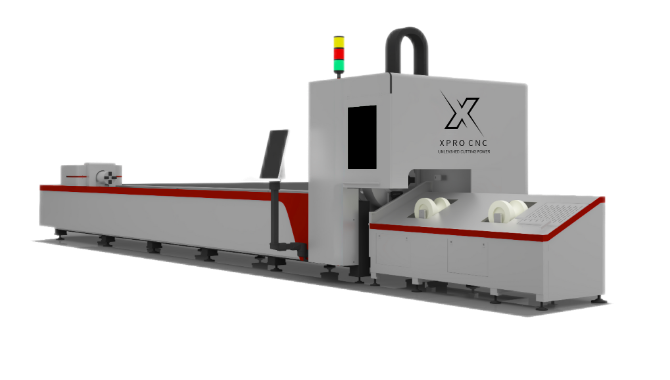
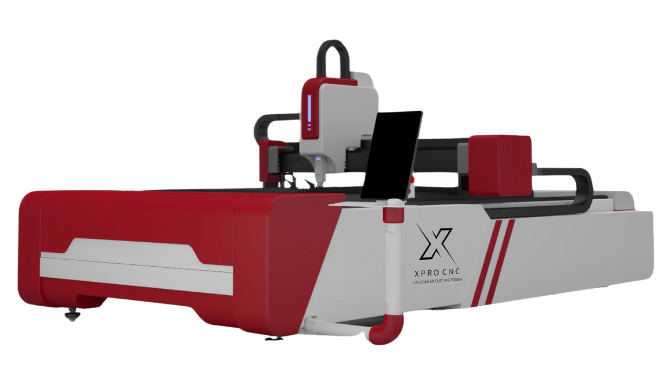
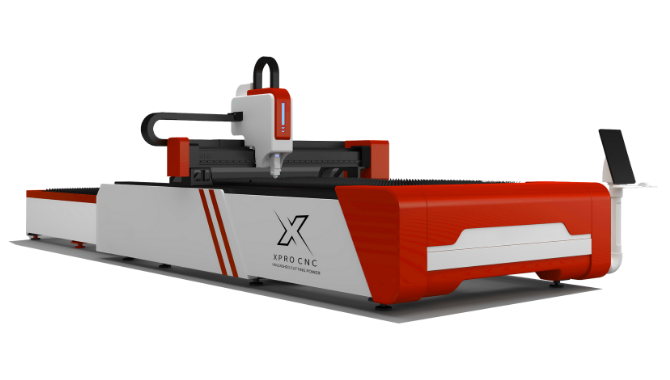
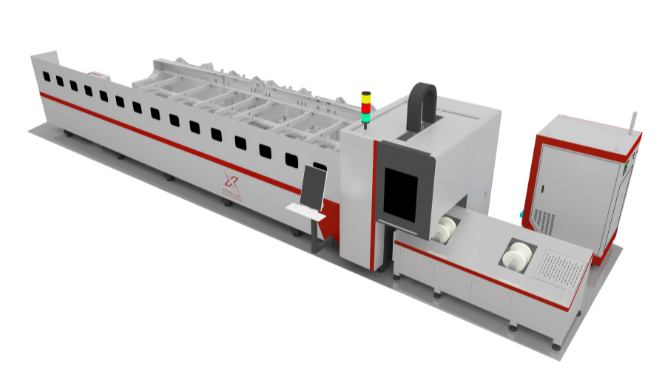
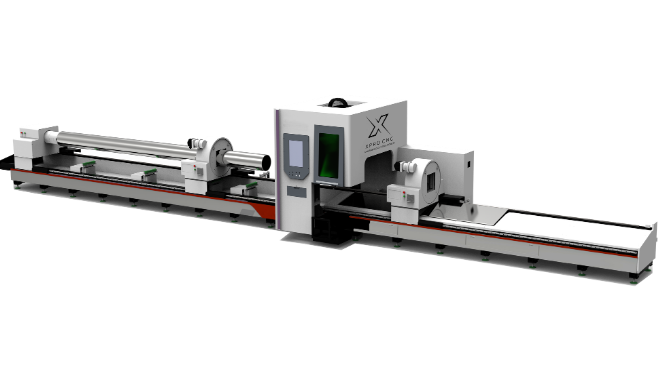
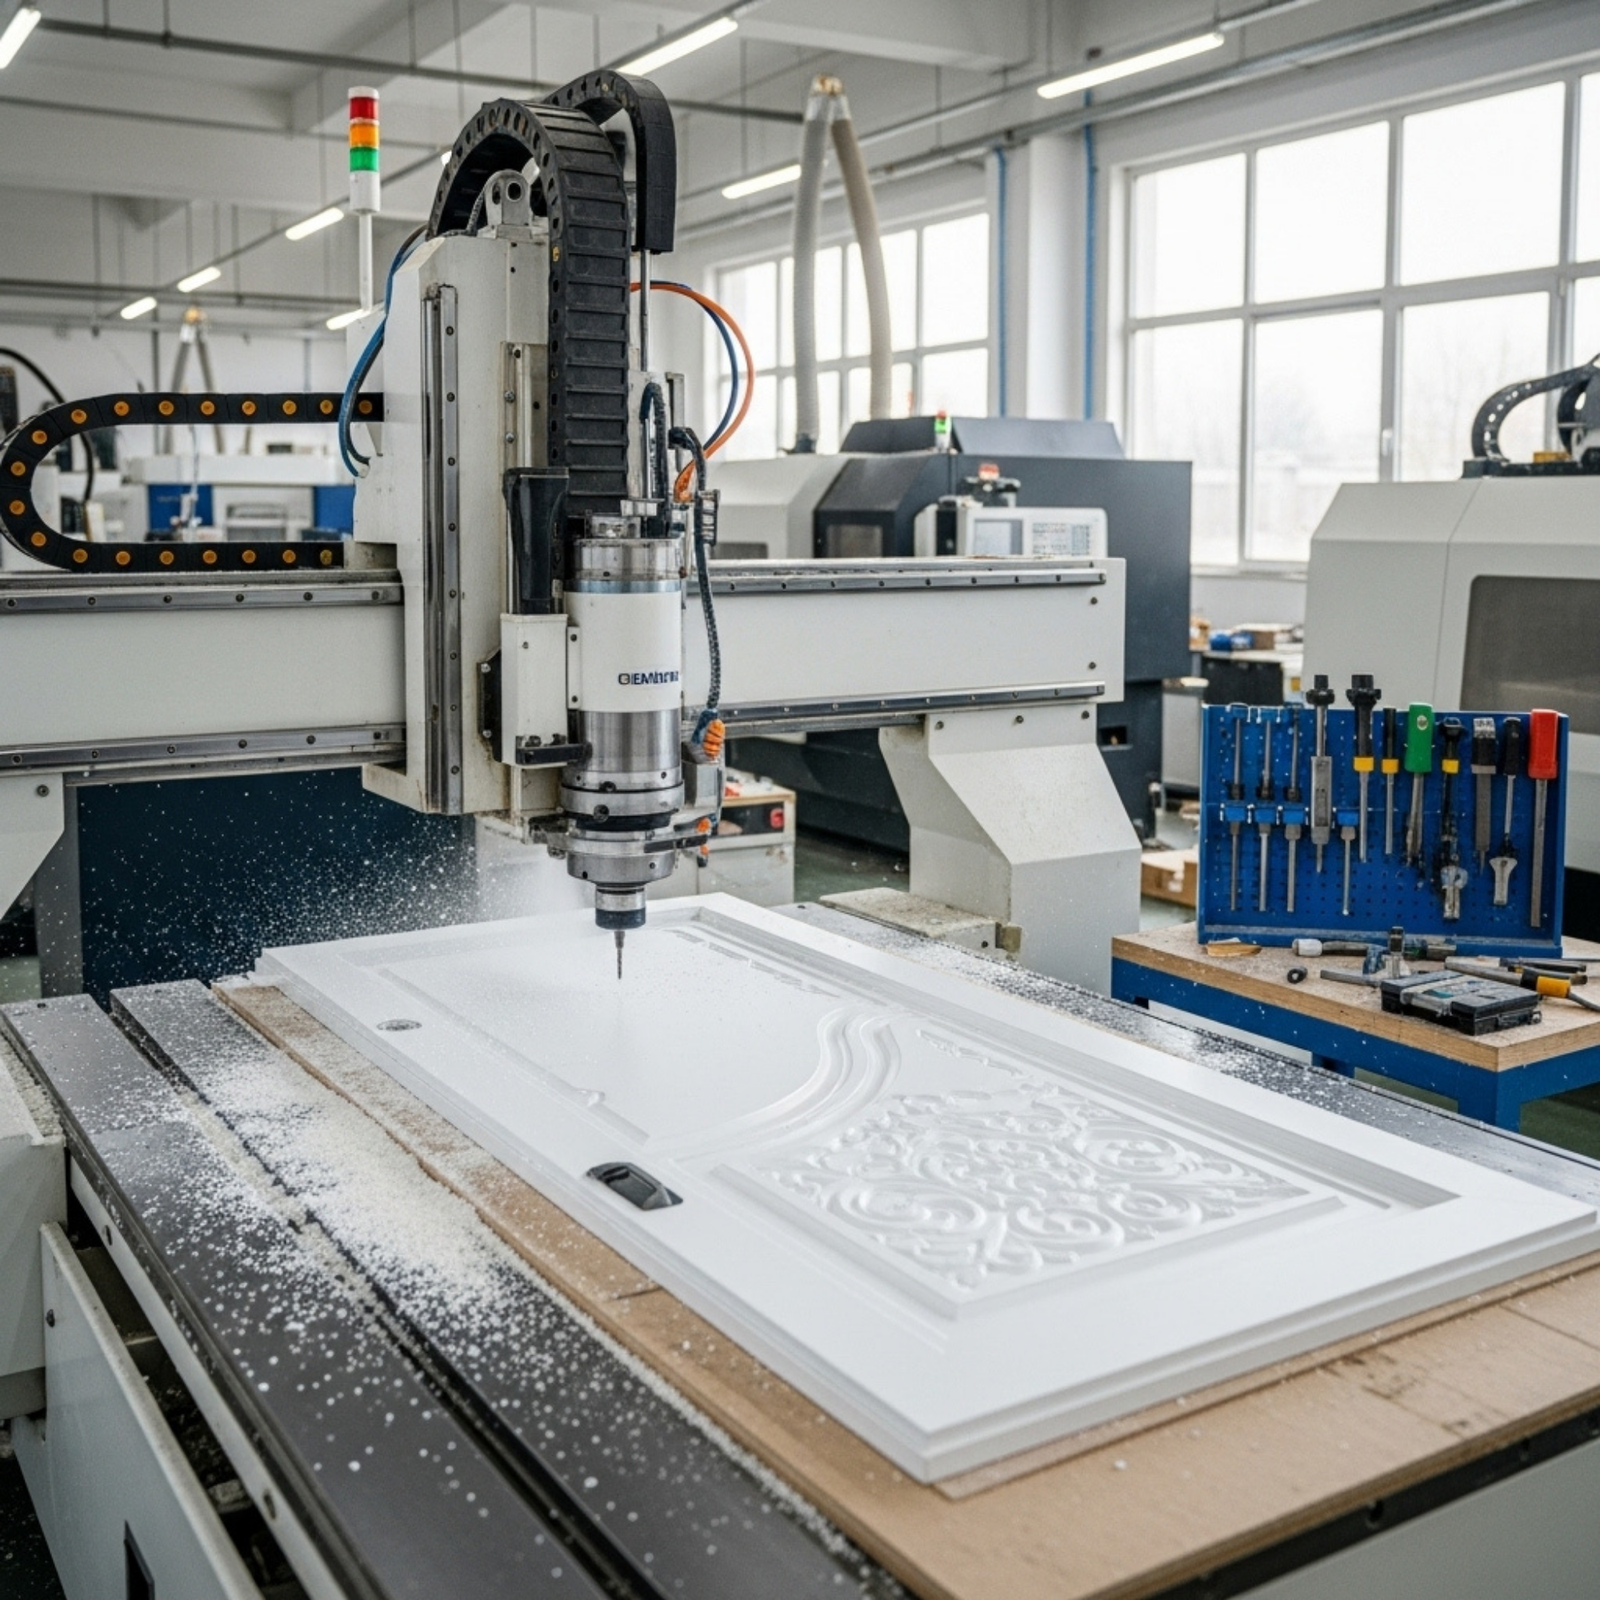
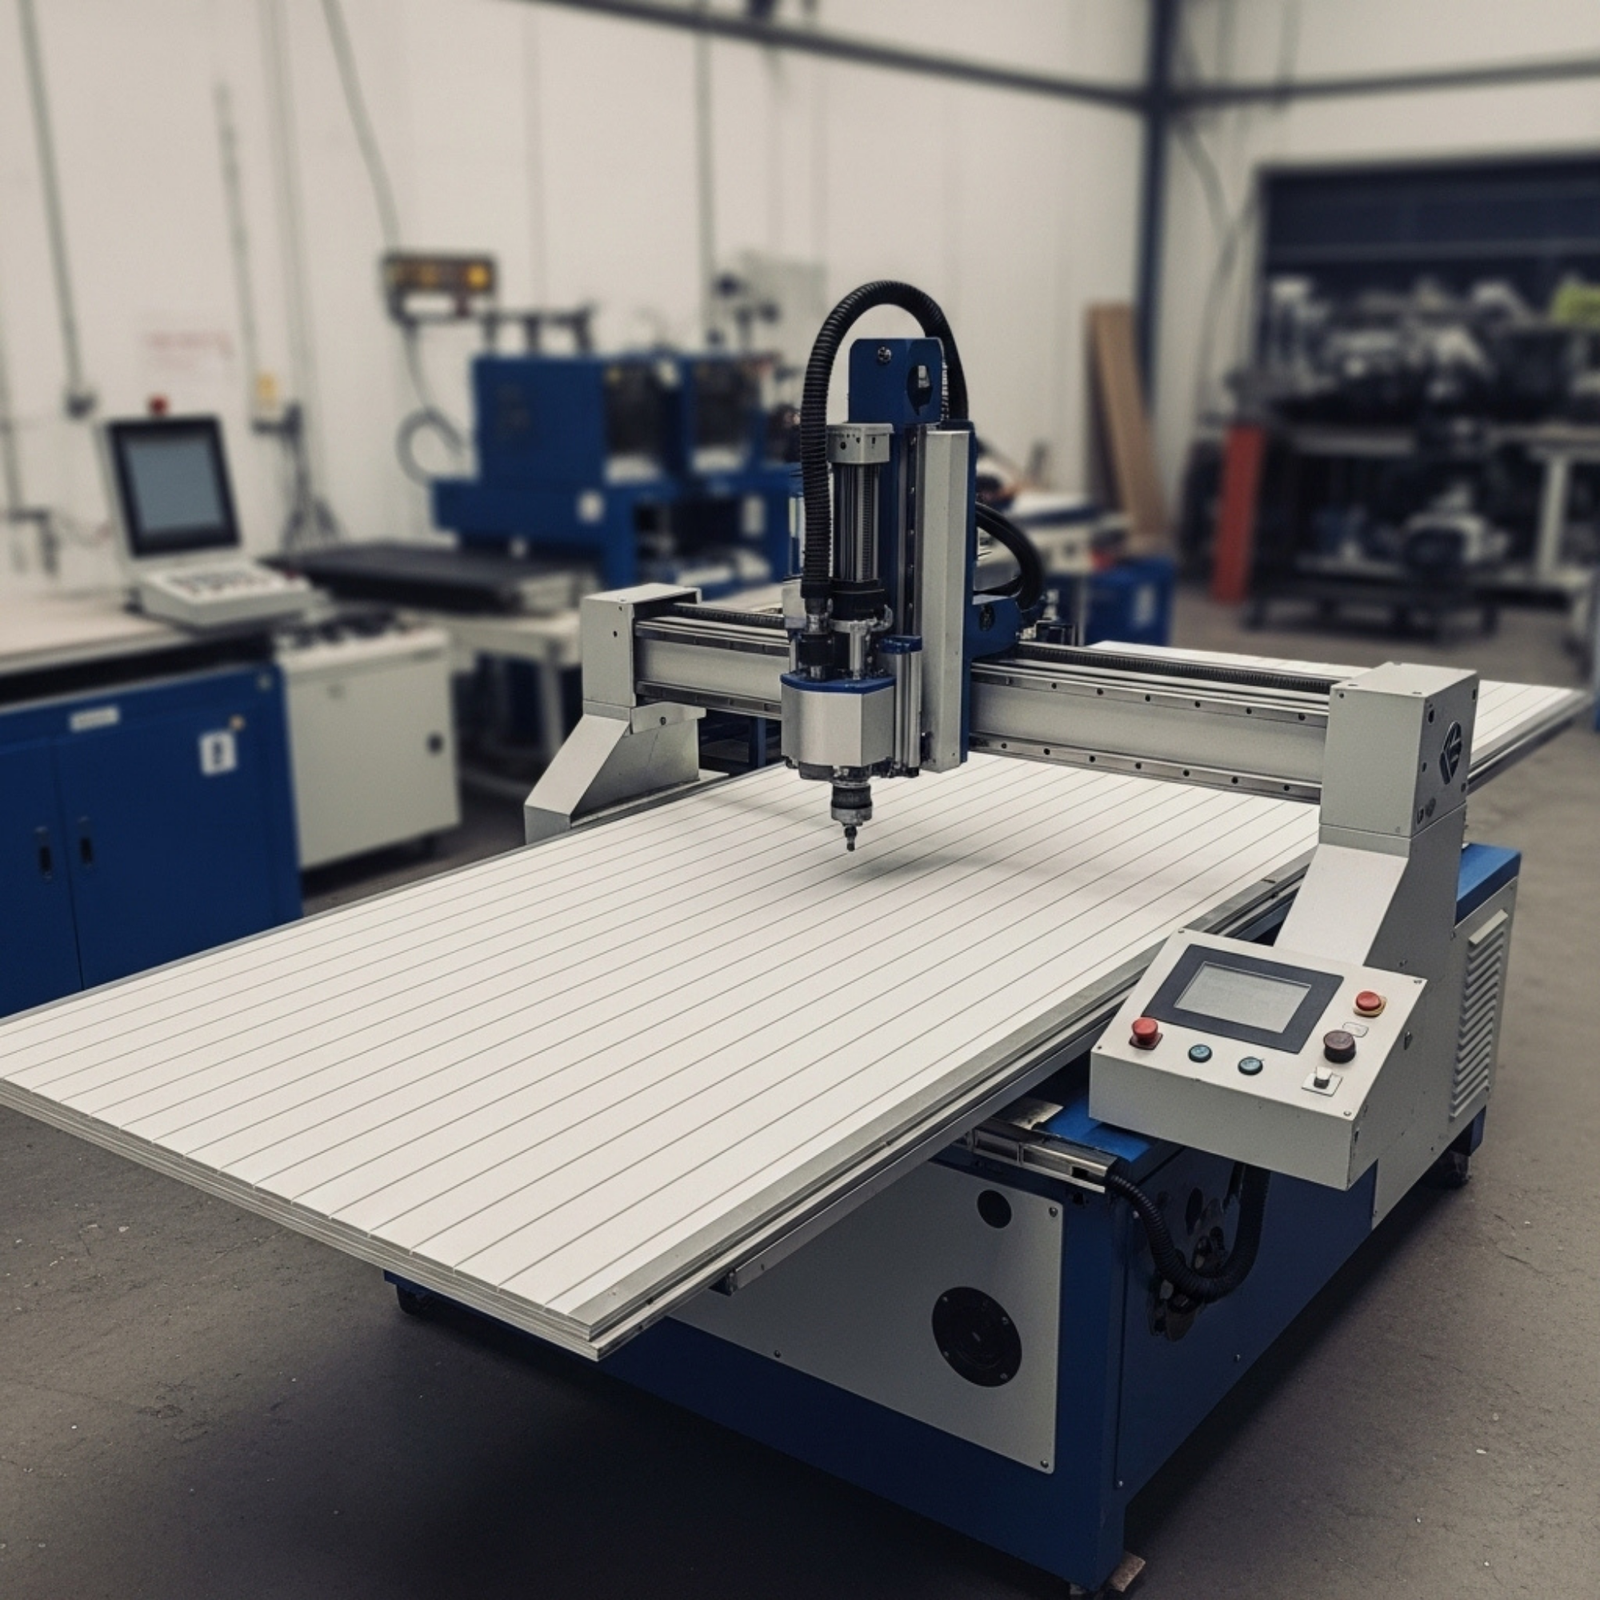
- Machine Rigidity is King: Ultimately, the stability of your entire process depends on the quality of your machine. A rigid machine with a solid cast-iron frame, high-quality linear guides, and a powerful spindle provides a stable foundation that resists vibration. A robust machine, like the 5-axis CNC machines from XproCNC.com, is engineered to absorb cutting forces and minimize the harmonics that lead to chatter.
From Operator to Chatter Detective
Eliminating chatter is a process of elimination. When you hear that dreaded scream, don’t just change a random setting. Stop the machine and work through these strategies systematically. By understanding the forces at play, you can turn a frustrating problem into a puzzle you know how to solve, leading to better parts, happier tools, and a much quieter shop.
Disclaimer: The information provided in this blog post is for general informational purposes only. CNC machining involves significant risks, and all operations should be performed by qualified professionals. Always consult with a certified expert and adhere to all safety guidelines and machine manuals before applying any techniques or making adjustments to your equipment. xpro cnc assumes no liability for any damages or injuries that may result from the use of this information.


