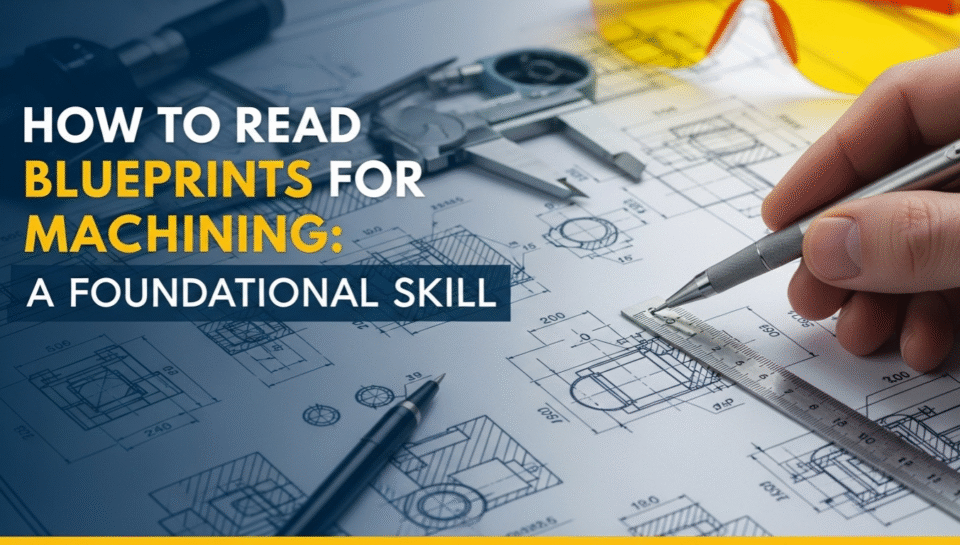
Welcome to the world of precision manufacturing! Before a single chip of metal is cut or a CNC machine whirs to life, there’s a critical document that serves as the ultimate source of truth: the blueprint. For a machinist, an engineering drawing (or blueprint) is more than just a picture; it’s a universal language that communicates every detail of a part with absolute clarity.
Learning to read these drawings is the most foundational skill in machining. It’s the bridge between a design concept and a tangible, high-quality part. Misinterpret a symbol or a tolerance, and you waste time, material, and money. Master this skill, and you unlock the ability to create anything with precision and confidence.
This guide will break down the essential elements of a machining blueprint in a simple, easy-to-understand way.
What Exactly is a Machining Blueprint?
A machining blueprint is a technical drawing that provides a complete set of instructions for manufacturing a specific part. It’s a contract between the designer and the machinist. It doesn’t just show what the part looks like; it details everything needed to produce it correctly, including:
- Shape and Geometry: The exact form of the part.
- Dimensions: The specific measurements for every feature.
- Tolerances: The acceptable range of variation for each dimension.
- Material: The type of metal, plastic, or other material to be used.
- Finish: The required texture of the surfaces.
- Special Treatments: Any necessary processes like heat treating or coating.
For services like CNC machining, a precise blueprint is non-negotiable. It’s the primary input that guides the entire programming and manufacturing process.
The Anatomy of a Blueprint: Breaking It Down
At first glance, a blueprint can seem overwhelming with its lines, numbers, and symbols. But once you understand its structure, it becomes a clear roadmap. Let’s break it down section by section.
1. The Title Block: The Drawing’s ID Card
The title block is the information hub, usually located in the bottom right-hand corner of the drawing. It’s the first place you should look. Think of it as the part’s passport. Here you’ll find:
- Part Name and Number: The official identifiers for the component.
- Material: Specifies the exact material to use (e.g., Aluminum 6061-T6, 304 Stainless Steel).
- Revision Level: Drawings are often updated. The revision letter or number (e.g., Rev A, Rev B) tells you if you’re working with the latest version.
- Company Name: The company that designed the part.
- Drafter/Designer: The person who created the drawing.
- General Tolerances: A set of default tolerances that apply to any dimension not given a specific tolerance.
- Scale: The ratio of the drawing’s size to the actual part’s size (e.g., 1:1, 1:2).
2. The Views: Seeing the Part from All Sides
A 3D object can’t be fully described on a 2D sheet of paper from a single angle. That’s why blueprints use a system called orthographic projection. This system shows the part from multiple, standardized viewpoints.
The most common views are:
- Front View: The main view, which shows the most detail.
- Top View: As if you were looking down from directly above the front view.
- Right Side View: As if you were looking from the right side of the front view.
These views are all aligned with each other. For instance, the height of the front view will be the same as the height of the side view. By looking at all the views together, you can build a complete 3D picture of the part in your mind. Sometimes, an isometric view (a 3D-style drawing) is included to help with visualization.
3. The Lines: The Alphabet of Blueprints
Different types of lines are used to convey specific information. They are the alphabet of the drawing language.
- Visible (or Object) Lines: Thick, solid lines that show the visible edges and outlines of the part.
- Hidden Lines: Dashed lines that represent edges and features that are not visible from that particular view (e.g., the inside of a hole).
- Center Lines: A long-dash, short-dash pattern that marks the center of holes, arcs, and other symmetrical features.
- Dimension and Extension Lines: Thin, solid lines used to show the specific sizes and locations of features.
4. Dimensions and Tolerances: The Rules of the Game
This is where the blueprint gets down to business.
- Dimensions are the numerical values that define the size and location of every feature, like the length of an edge, the diameter of a hole, or the distance between two points.
- Tolerances are the most critical concept in precision machining. They define the acceptable amount of variation for a given dimension. It’s impossible to make a part to the exact size every single time. A tolerance tells the machinist how much bigger or smaller a feature can be and still be acceptable. It’s often written as a
±value (e.g., 25.0±0.1 mm means the feature can be anywhere between 24.9 mm and 25.1 mm).
5. GD&T: The Grammar of Precision
Geometric Dimensioning and Tolerancing (GD&T) is a more advanced system of symbols that controls the form and relationship of features, not just their size. It’s the grammar that adds clarity and precision to the language of blueprints.
While a full GD&T course is extensive, here are a few common symbols:
- flatness (⏥):** How flat a surface must be.
- perpendicularity (⊥):** How close to a perfect 90° angle a surface or axis must be to another.
- position (⨁):** The acceptable deviation for the location of a feature, like a hole.
- concentricity ($\ concentricity $):** How well two cylindrical features share a common center axis.
GD&T is standardized by organizations like the American Society of Mechanical Engineers (ASME Y14.5) and is essential for creating complex, interacting parts.
Your 5-Step Process for Reading Any Blueprint
Feeling ready to tackle a drawing? Follow this systematic approach every time.
- Start with the Title Block: Get your bearings. What is the part name? What material is it made from? Are there any general notes or tolerances to be aware of?
- Understand the Views: Look at the orthographic and isometric views to build a mental 3D model of the part. Identify the main features.
- Scrutinize Dimensions and Tolerances: Go through each dimension one by one. Pay close attention to the tolerances—they tell you which features are most critical.
- Look for Special Instructions: Check the notes section and look for any GD&T symbols, surface finish requirements (often shown with a checkmark-like symbol), or callouts for special processes like heat treatment.
- Visualize the Final Product: With all the information gathered, visualize the finished part in your mind. Think about how you would create each feature. This final check helps ensure you haven’t missed anything.
By mastering this foundational skill, you empower yourself to confidently translate any design into a high-quality, functional component. It’s a skill that will serve you throughout your career in manufacturing and engineering.
Disclaimer: The information provided in this blog post is for informational purposes only. The interpretation and application of engineering drawings should always be performed by qualified professionals. Always consult with an engineering or manufacturing expert before proceeding with any fabrication based on a blueprint.

