
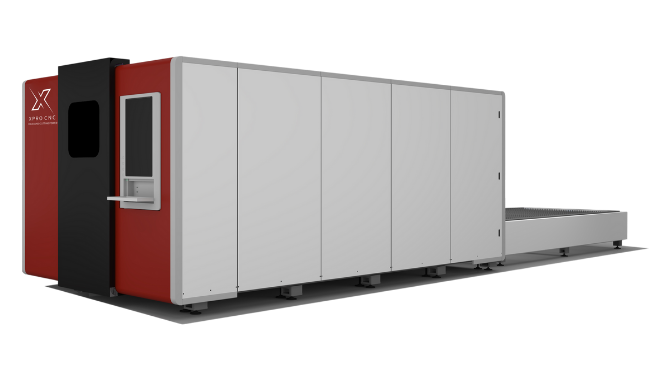
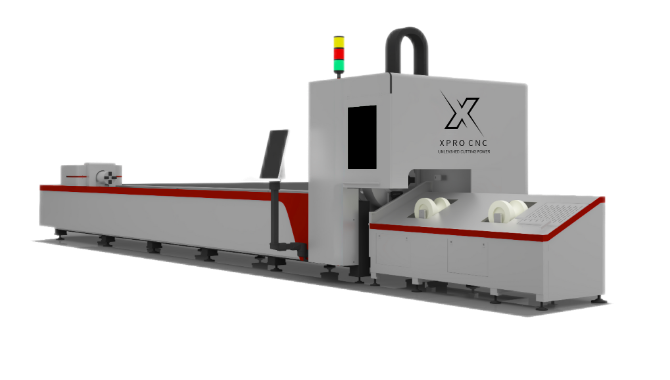
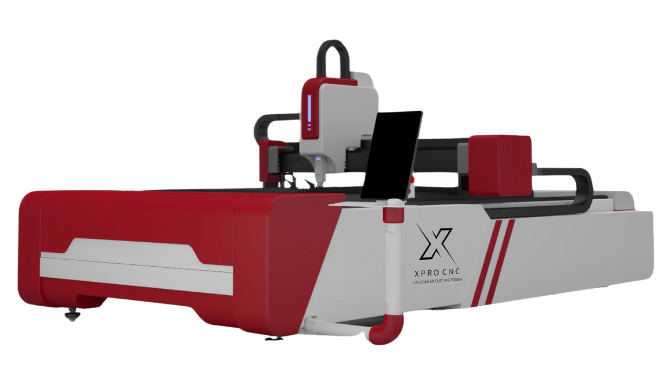


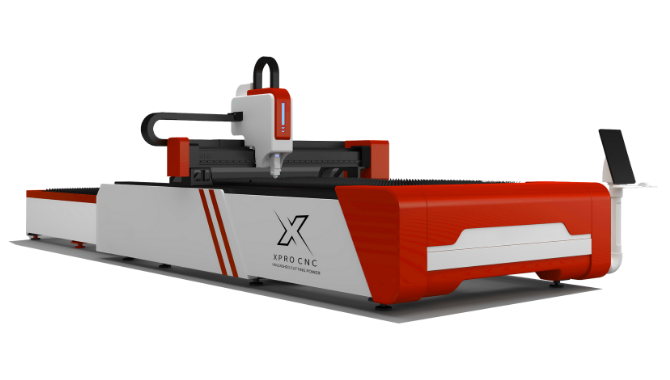
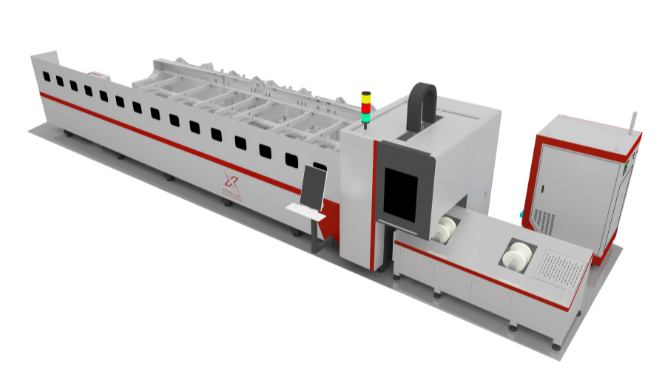
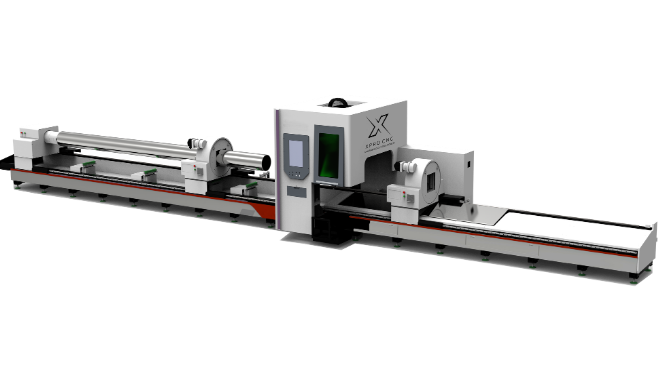

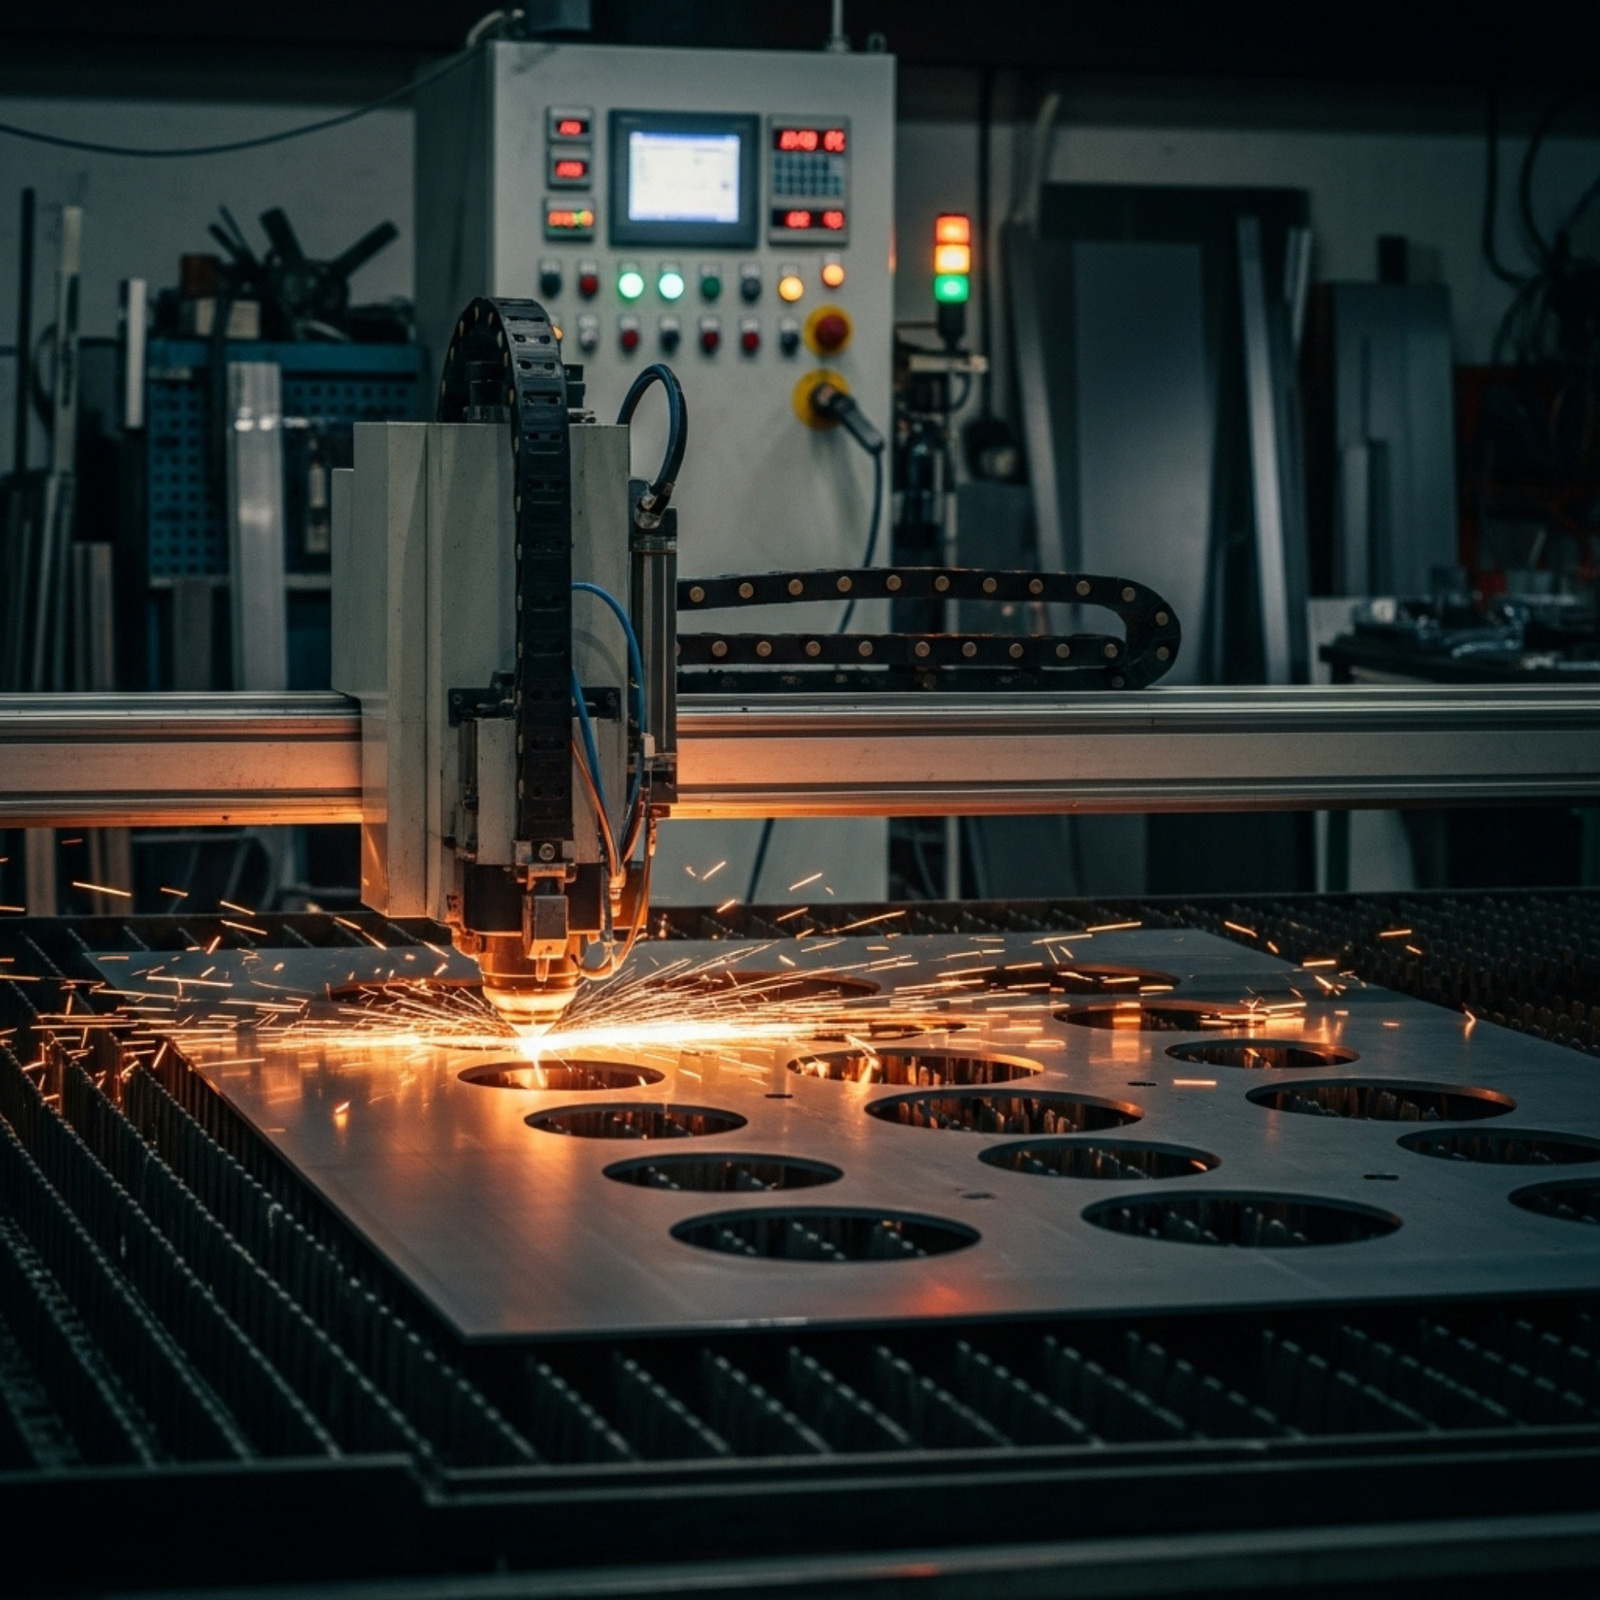
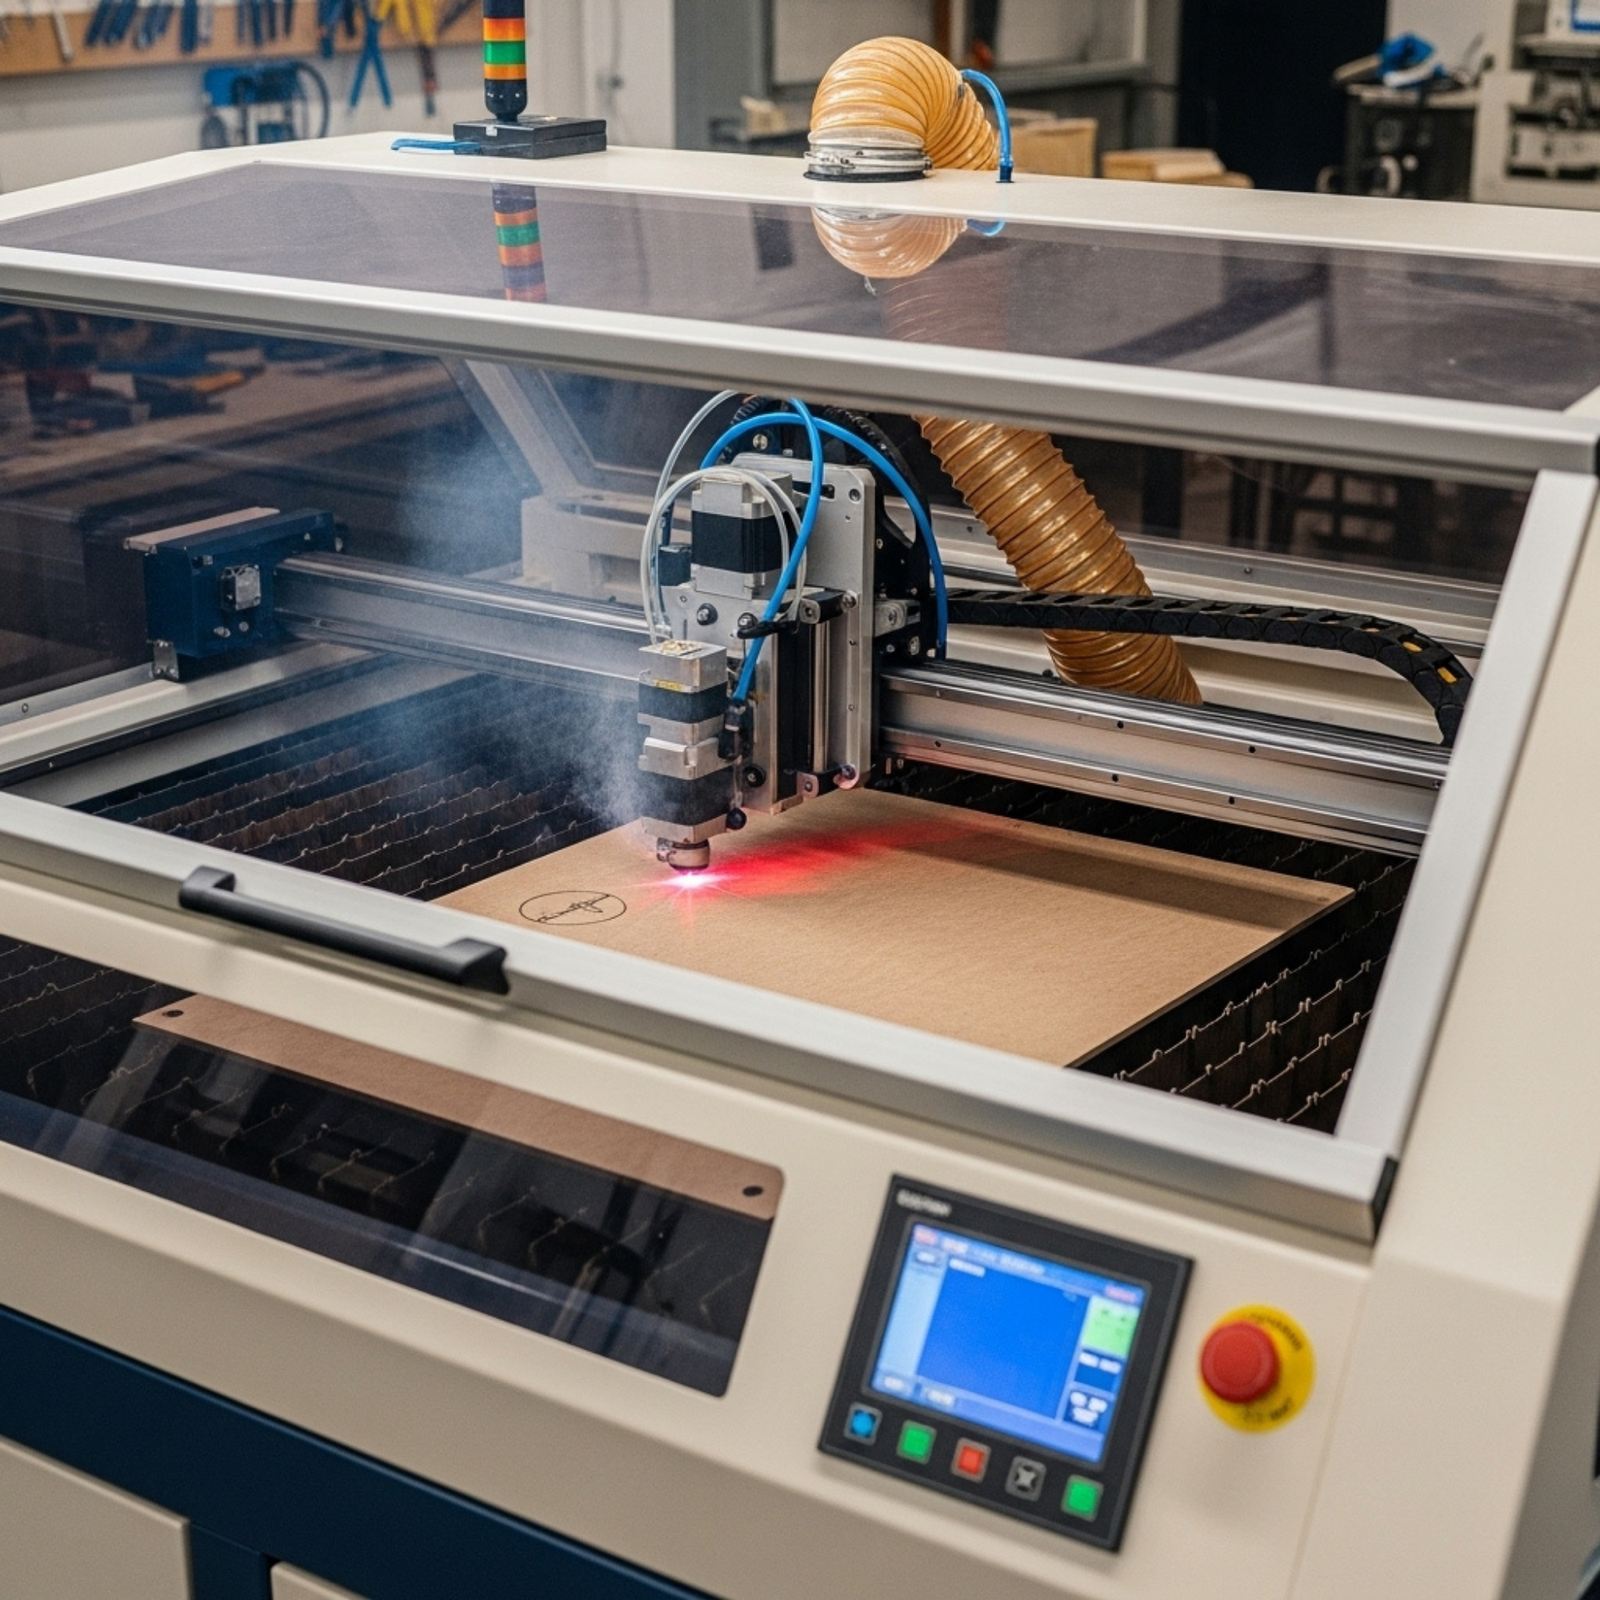

For any small or medium-sized business running a CNC fiber laser, the cutting head is the heart of the operation. It’s where precision engineering meets focused light to perform the work that drives your profits. But when cut quality degrades or alarms start flashing, that critical component can quickly become a major source of costly downtime.
Understanding how to troubleshoot, repair, and maintain your xprocnc.com fiber laser cutting head is not just a technical skill—it’s a business necessity. This guide is designed for shop managers and operators who need practical, straightforward advice on keeping their machines running at peak performance. We’ll break down the common issues, identify the parts you need to know, and help you make the smart call between repairing and replacing.
Warning Signs: How to Know Your Cutting Head Needs Attention
Before a complete failure, a cutting head usually gives signals that it requires maintenance. Acting on these early warnings can save you from more extensive repairs down the line.
- Poor or Inconsistent Cut Quality: This is the most common sign. Look for increased dross, jagged edges, or a widening kerf that doesn’t resolve with focus adjustments.
- Frequent “Capacitive Alarm” Errors: If your machine constantly stops with alarms related to the head’s distance sensing, it often points to an issue with the nozzle or ceramic insulator.
- Visible Damage to Consumables: Regularly inspect the nozzle tip for roundness and debris. A distorted or blocked nozzle is a clear indicator for replacement.
- Overheating: An unusually hot cutting head can signal problems with the water-cooling channels or, in more serious cases, internal contamination causing light to be absorbed as heat.
Anatomy of a Cutting Head: Key Parts and What They Do
While designs from manufacturers like Raytools or Precitec vary, most fiber laser cutting heads share a core set of components. Understanding their function is the first step to effective troubleshooting.
- Protective Lens/Window: This is arguably the most critical consumable. Its sole job is to protect the expensive internal focusing lenses from dust, smoke, and debris generated during cutting. A compromised protective lens is a leading cause of poor performance and can lead to catastrophic failure if ignored.
- Nozzle: The nozzle directs the flow of assist gas (like Oxygen or Nitrogen) to the cut, clearing molten material away. The nozzle’s orifice size and condition are critical for cut quality.
- Ceramic Part / Nozzle Holder: This piece electrically isolates the nozzle from the rest of the cutting head. This is essential for the capacitive height-sensing system to function correctly, allowing the head to precisely follow the contour of the metal sheet.
- Focusing Lens (Collimating and Focusing): These are the high-cost optics deep inside the head. The collimating lens takes the divergent beam from the fiber optic cable and makes it parallel, while the focusing lens concentrates that beam down to a tiny, powerful spot.
Level 1 Maintenance: Replacing Common Consumables
These parts are designed to be replaced regularly by the machine operator. Always consult your machine’s manual and ensure the machine is powered down safely before performing any maintenance.
1. The Protective Lens
- When to Replace: Replace it immediately if you see any haze, cracks, or pits. Many shops proactively replace them on a set schedule (e.g., every 200-500 operating hours) depending on the materials being cut. Cutting galvanized or dirty material will require more frequent changes.
- Why it Matters: A dirty or damaged lens will absorb laser energy, causing it to heat up and potentially crack. This can send debris further up into the focusing lens assembly, turning a $50 replacement into a multi-thousand-dollar repair.
2. The Nozzle
- When to Replace: Replace when the opening is no longer perfectly round, if it’s clogged with slag, or after a “head crash.” They are relatively inexpensive, and a fresh nozzle is often the quickest fix for declining cut quality.
- Pro-Tip: Use the correct nozzle type and diameter for your material and thickness. Using the wrong one wastes gas and produces a subpar cut. Keep a variety of common sizes in your inventory.
3. The Ceramic Part
- When to Replace: Replace if you are getting consistent capacitive alarms that a new nozzle doesn’t fix. Any cracks or chips in the ceramic will disrupt the electrical isolation and cause sensor errors.
- Installation Note: Be careful not to overtighten the ceramic part, as it can crack under excessive pressure.
Level 2 Troubleshooting: When It’s More Than Just Consumables
If you’ve replaced all the standard consumables and are still facing issues, the problem may lie deeper within the cutting head.
- Sensor and Calibration Issues: If the head isn’t maintaining the correct standoff distance, it may require a recalibration of the height sensor. This process is specific to your machine’s controller and should be done following the manufacturer’s exact procedure.
- Internal Contamination: If a protective lens has failed, dust and debris may have entered the main optics chamber. This requires careful disassembly and cleaning by a trained technician in a clean environment. Attempting this without proper training can easily result in permanent damage to the expensive lenses.
- Loss of Collimation: If the laser beam is no longer perfectly centered through the nozzle, it may need to be realigned (collimated). This is an advanced procedure that involves adjusting the internal lenses and is typically performed by a certified technician.
For these more complex issues, or for sourcing high-quality xprocnc.com consumables and parts, it’s often best to seek professional support.
The Final Word: Preventive Maintenance is Your Best Strategy
The most effective way to handle cutting head repairs is to prevent them.
- Establish a Clean Workspace: Keep the area around your CNC laser free of excess dust and debris.
- Implement a Regular Inspection Schedule: Have your operators perform a quick check of the nozzle and protective lens at the start of every shift.
- Use High-Quality Consumables: While cheaper parts can be tempting, they often have shorter lifespans and can put your expensive optics at risk.
- Listen to Your Machine: Don’t ignore alarms. Address them promptly to prevent a small problem from becoming a major one.
By taking a proactive approach, you can ensure your xprocnc.com fiber laser remains a reliable and profitable workhorse for your business for years to come.
Disclaimer: The information provided in this blog post is for general informational purposes only. All information is provided in good faith; however, we make no representation or warranty of any kind regarding the accuracy, adequacy, validity, reliability, or completeness of any information. Performing maintenance or repairs on CNC machinery involves risks. You should not attempt these procedures without proper training, safety equipment, and a thorough understanding of your machine’s specific documentation. Always consult a qualified professional or the machine manufacturer before undertaking any repairs. XproCNC.com is not liable for any damage to equipment or personal injury that may result from following the advice in this article.

")
")
")